Running with Chisels Vol. 25
return to top
return to the running with chisels archive
Vol 25 | October 16, 2026
In this issue Dave introduces the 2027 first half class schedule, and reviews a method for working with large veneer panels as part of a recently library project.
The prior issue was late, and this one is even later. My apologies. Life got in the way, and it hasn’t given up yet, but I am starting to see the horizon again after having my nose pressed against the glass for a while. You can largely blame the library pictured in today’s Tech Topic – be sure to scroll to check out the photos.
Let’s talk about how the longer classes that I scheduled back in April went/are going, and what next year’s classes are going to look like. As usual, I reserve the right to change my mind when someone comes up with a better idea, but also – once you’ve booked a class, that class is happening.
The remaining classes for this year are booked out. Thank you for your support. I enjoy spreading the word about veneering and marquetry, and I look forward to doing it for the foreseeable future.
In this Edition of Running with Chisels:
- A class format update
- New class schedule for 2027
- Tech(nique) Topic: Making big panels
Class Update – Feedback on the new format
The inaugural 5-day Marquetry with a scroll saw class was held in late August. We made irises and tulips and leaves and hummingbirds. Yay! The class was successful in that we (almost) covered all of the key material but we were exhausted by the end, and folks were making mistakes because they were tired. In spite of that they all seemed to enjoy it.

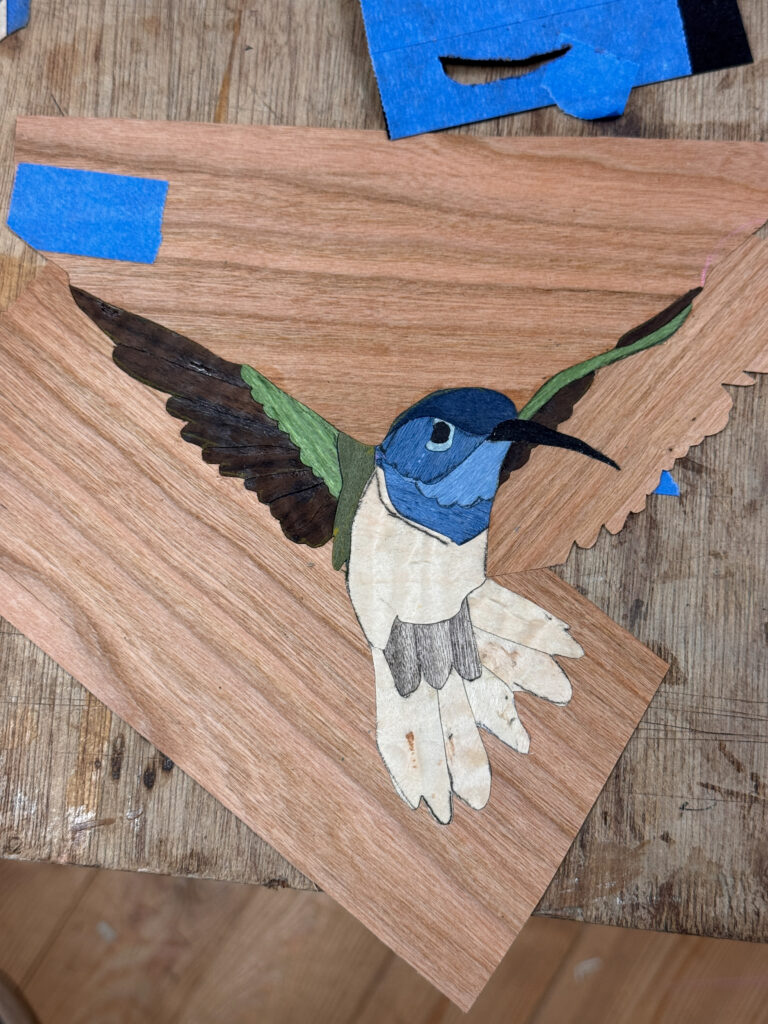
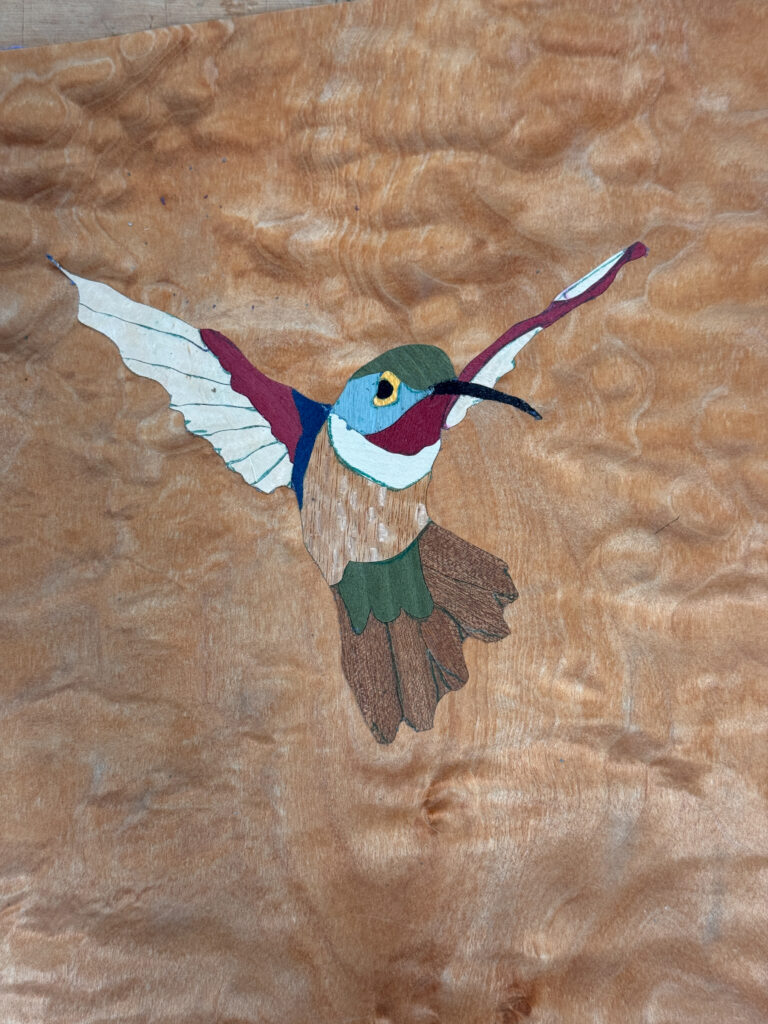
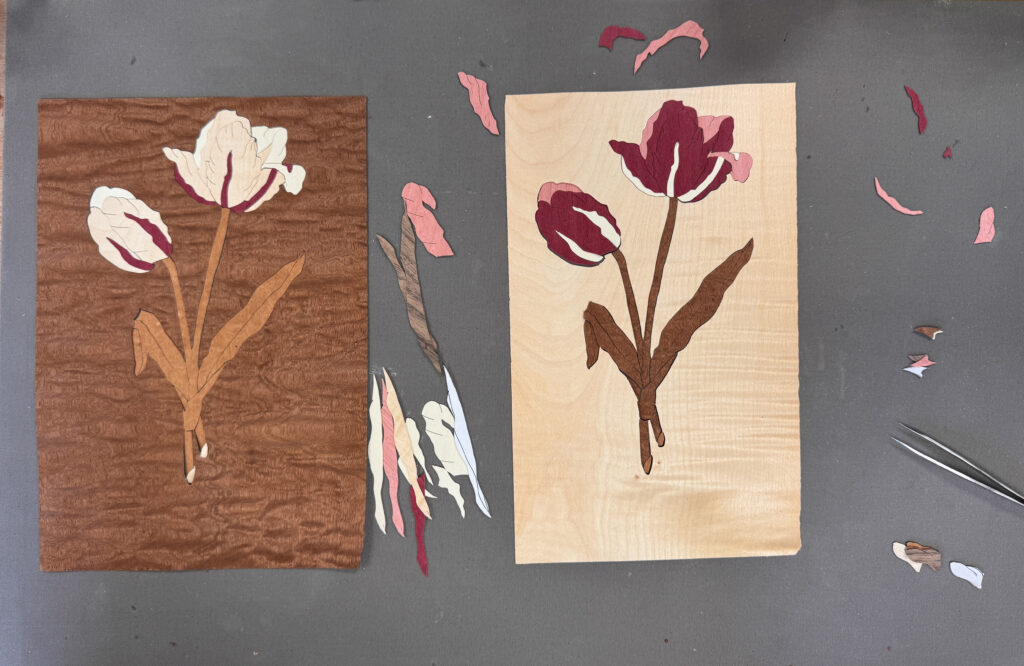
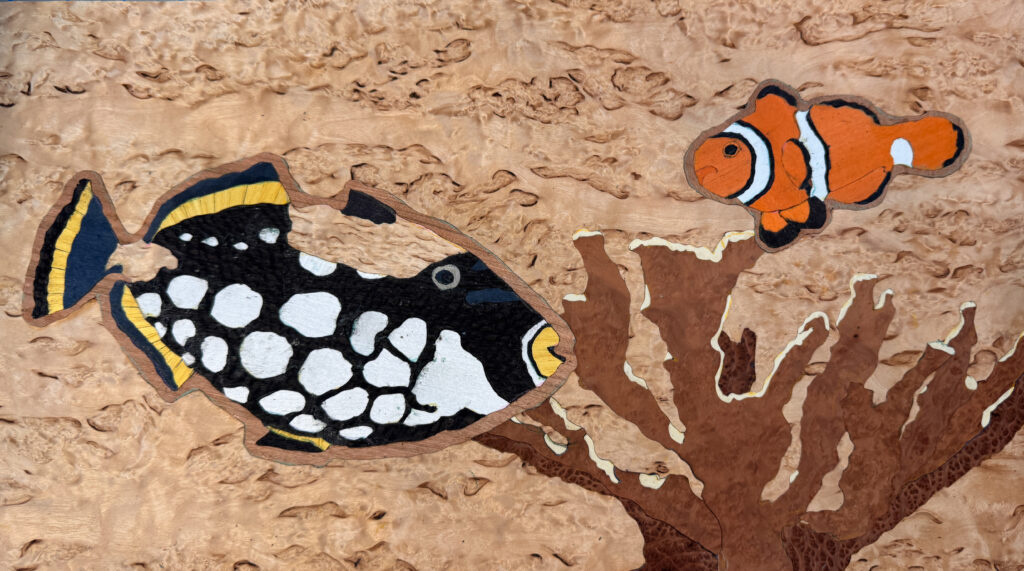
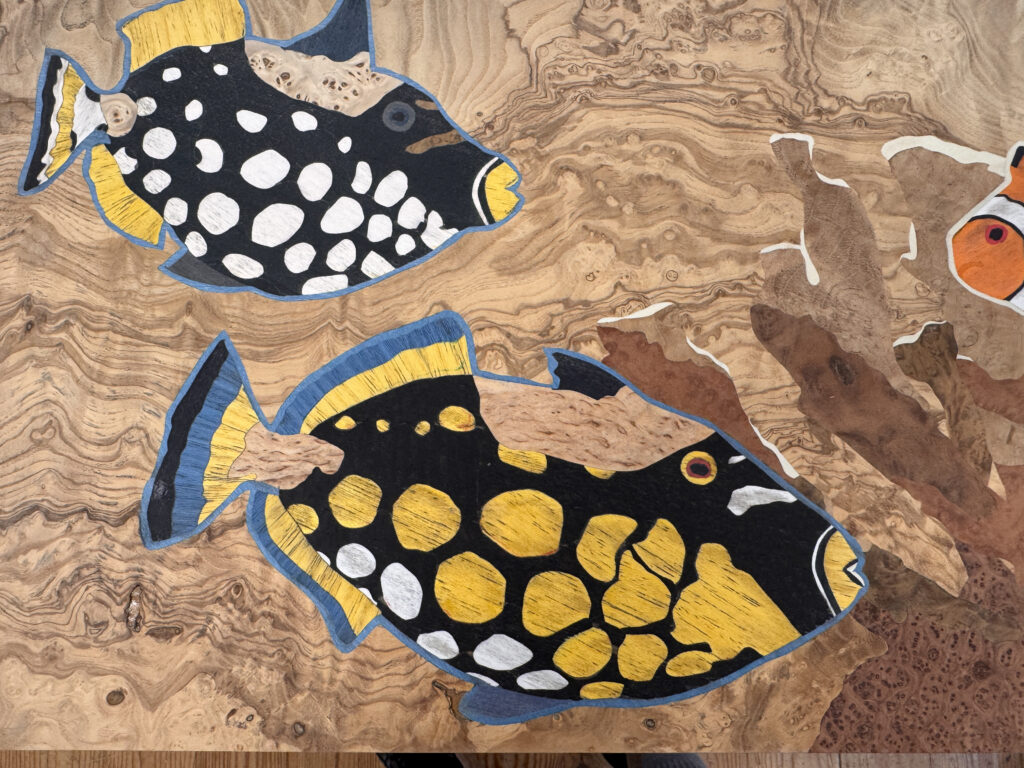
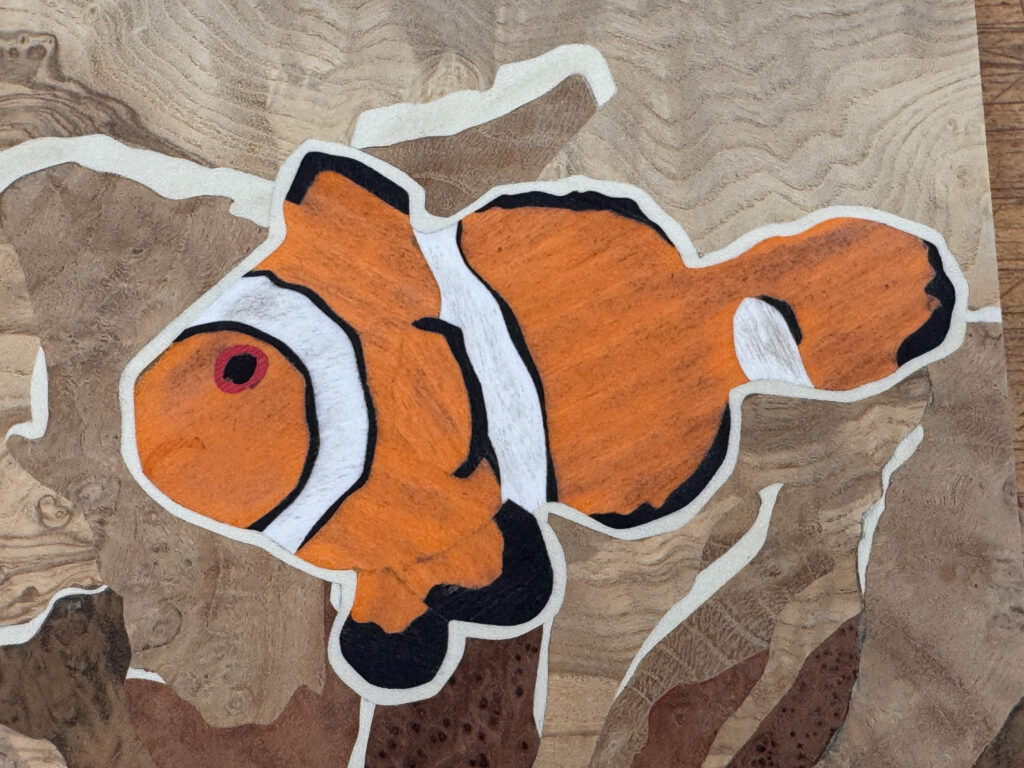
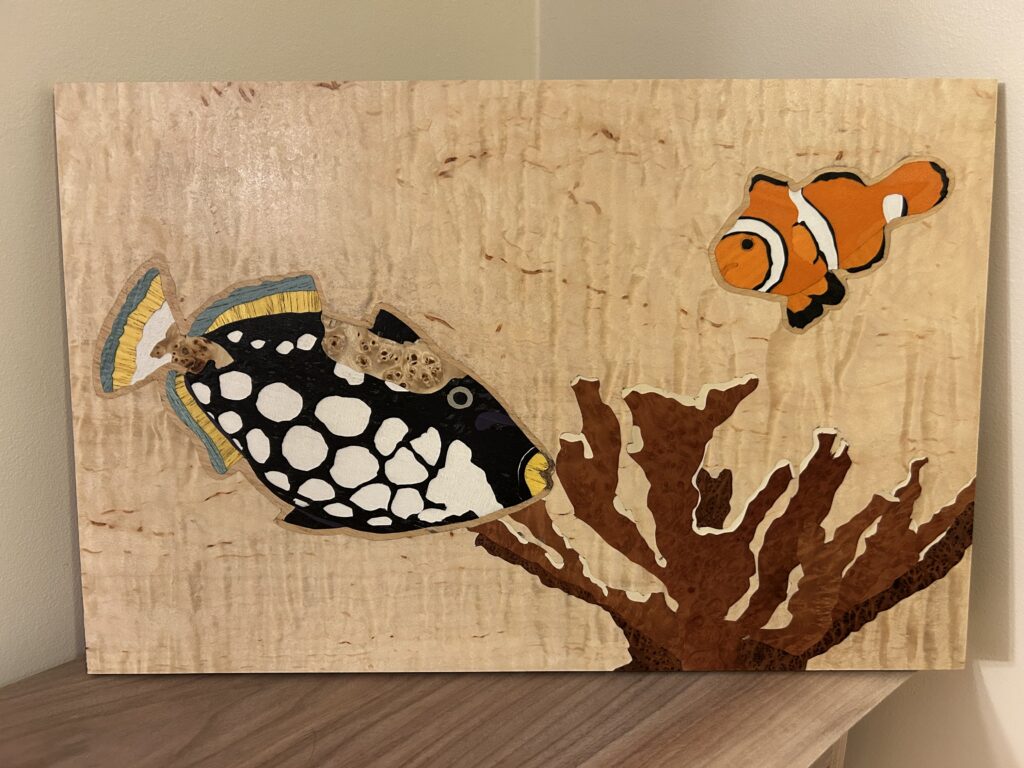
I consciously chose to slightly back down on the intensity of the 5-day Double Bevel Intensive class in mid-September. The gang were still cutting and assembling on the fifth day, and weren’t so tired. We made an undersea scene – coral, a clownfish and a triggerfish. We did some pretty fancy cutting by the end. The results were impressive.
A note on inclusivity in woodworking
One of the students at my most recent class commented that she chose my class in part because of the phrase “All are welcome in our woodshop” on my website. I was surprised – why would I not welcome anyone who wants to learn?
**Editor’s note: As Dave’s daughter, an architect who spent more than a decade in the male-dominated fields of architecture and construction, I am not surprised – which is exactly why the message is on the website in the first place. But, I am happy to talk about inclusivity and representation in woodworking, and am pretty proud of the number of women who take classes with us.**
Let me be clear – if you are interested in marquetry or veneering, we welcome you. There are no other qualifiers. Within woodworking, veneering methods are uniquely suited to people of varying physical strength, previous experience, and power tool comfort levels. I will do my best to come to you where you are in your knowledge and experience, and make sure that you learn all of the key techniques and approaches that I use.
Each student arrives with a different background and perspective, but I have the time to tailor conversations with each student because there are only four students in most classes. It seems to be working, as many students return for a second class. I plan on continuing to offer classes for at least several more years – it’s very boring how much less energy I have now than a few years ago, but when I can’t do this the way I want to, I’ll stop doing it. In the meantime, full steam ahead!
Class Schedule for 2027 – First Half
The next classes will be in early 2027 (oof – I remember when 1984 was coming and was a big deal).
- Jan 21-25 Marquetry using a scroll saw: Painting with wood and Double Bevel Marquetry
- Feb 16-20 Veneering for Furnituremakers Intensive – 4 way and radial matching veneers
- March 12-14 – Introductory Double Bevel Marquetry – making a hummingbird
- April 6-10 Geometric Marquetry Intensive – making straight and curved geometric patterns.
We are likely traveling to Britain in late April for several weeks so I’m holding off on scheduling a May class. Further classes for the middle of next year will be added over the next few months. If there is a particular class that you would like to take and a particular time, send me an email. I can’t promise it, but I can be flexible.
I have also held several custom classes this year, ranging from one day to four. They have been both add-on’s or separate from the regular programming, and subjects have ranged from things I usually teach to interesting and unusual topics. If you have a marquetry or veneering concept and need some help to make it a reality, send me an email and let’s see what we can do, either at your shop or mine.
Tech(nique) Topic: Making Big Panels
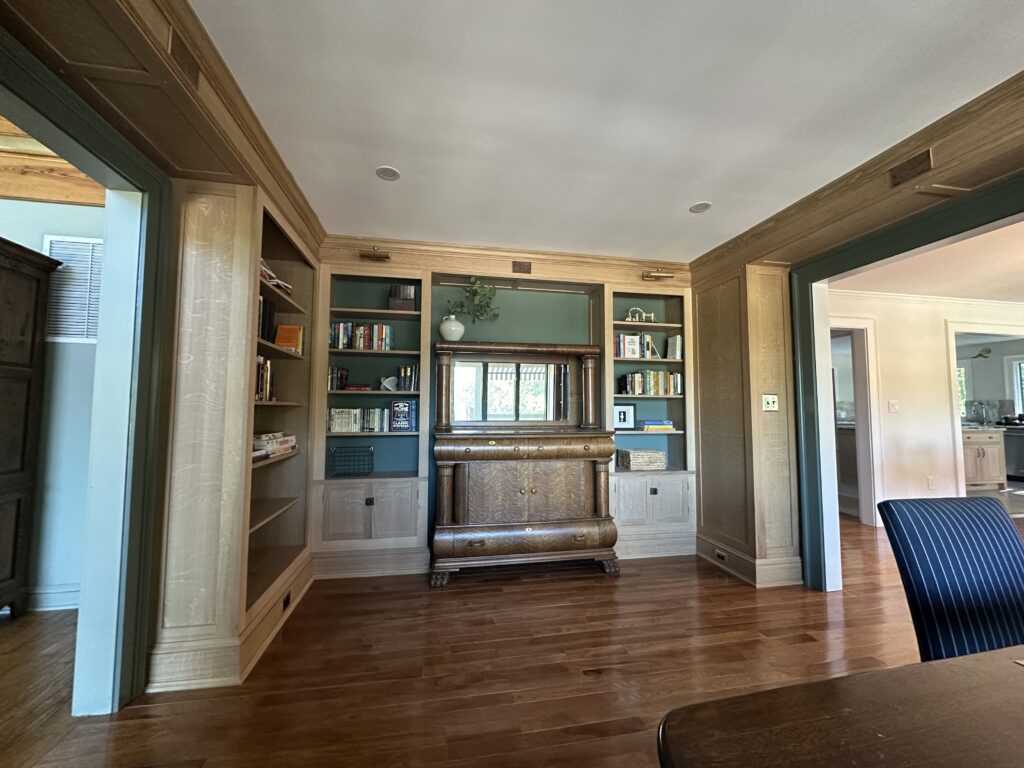
I make mostly small items – boxes, pictures, and panels that go into bigger pieces of furniture. I have recently made a series of bookcases and panels for a library. The room was designed by my Architect daughter, and there are good reasons for all of the dimension, but being convenient to build wasn’t a consideration. In these pictures, if it’s a vertical panel, it was veneered.

These cases are 13 ½” deep and 82” tall, and range in width from 25” to 42”, which are not good sizes for my shop. The workbenches are too short and too narrow for this. Fortunately, the vacuum press is large enough, so the rest of the issues were just inconvenient.
The bulk of the solid wood for the project came from the quartersawn white oak from a huge backyard tree that died in 2018 and was quartered for me by a local Sawyer. The case sides were made from ¾” Baltic birch plywood which I veneered with qs white oak to match.
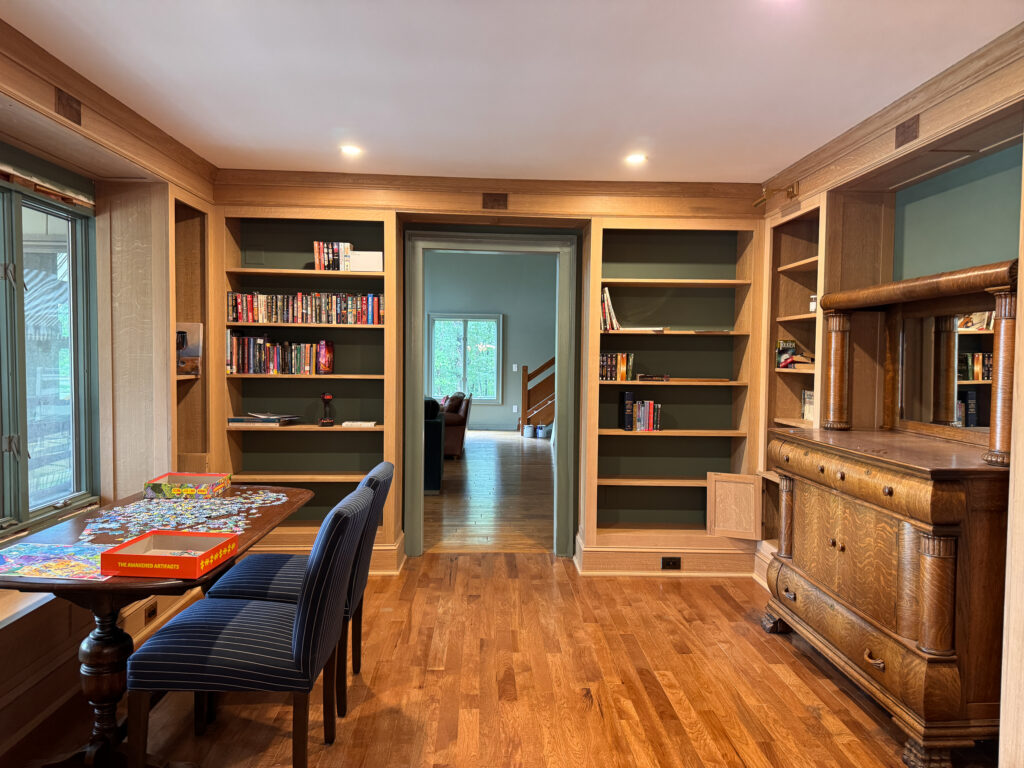
Certainly Wood had some very nice 1/18” qswo, which was 11” wide. Excellent, and wide enough for the side panels, but not wide enough for the bookcase sides. I therefore had to seam this thick, wide and long veneer 13 times. If I had a track saw I would have used that. I’ve trimmed veneer on the tablesaw also, and it works well. Unfortunately, the 7’ long veneer was too long for my tablesaw, which is set up for the small things I usually make. Craig Thibodeau talks about this in “The Craft of Veneering”, which I highly recommend.
I could have made it work, but instead I used my long bed jointer. I taped the two pieces of veneer that I wanted to joint together at the ends, the taped a 7’ long piece of poplar to the veneer for stiffness, and then ran it across the jointer once. That cut all of the tape, but the resulting edges were flat and appropriate for seaming.
This seamed panel was then glued to the plywood using my normal approach: I used poplar as counterveneer and Titebond III glue, which I applied to the substrate with a 4” foam roller to get even glue application. The vacuum press handled the large panels without issue, and they stayed flat because they got to dry on both sides by resting on painter’s points for at least a day after glue-up before I used them.
The finish is Rubio monocoat – not my choice, but I suspect that I would have disliked whatever finish was used, since there were hundreds of square feet to be finished.


