Running With Chisels Vol. 12
Marquetry tips
Browse by Category:
Welcome
Our corner of the internet dedicated to decorated furniture
#saynotonakedfurniture
#dressyourfurniture
rwc archive
tools
classes
Vol 12 | May 31, 2024
Welcome to Running With Chisels, or welcome back.
May has been a busy month around the shop and beyond – classes at the Fredericksburg Workshop, one-on-one instruction, and a schedule change that meant I could attend Silas Kopf’s workshop last weekend in Rochester NY. And, today just happens to be my wedding anniversary, celebrating 43 years with my better half Elizabeth.
I’ve also got an update on the commission in my shop, and some serious trial and error I’ve needed to work through for the tabletop. Let’s dig in.
Class Updates:
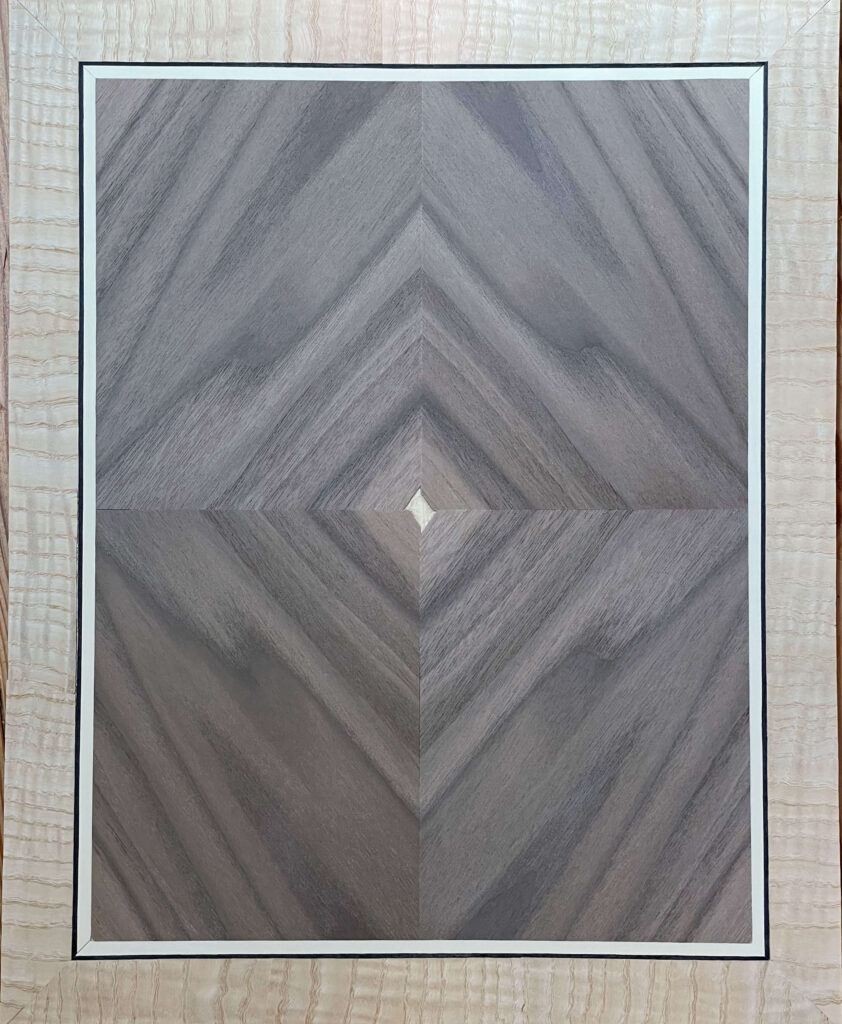
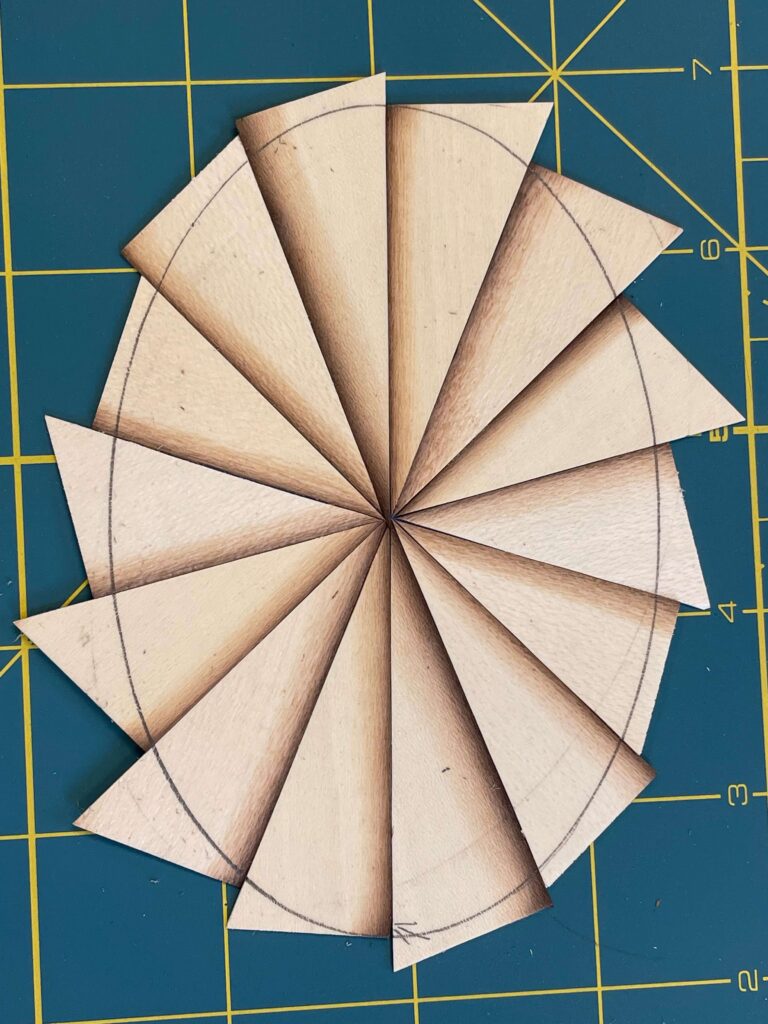
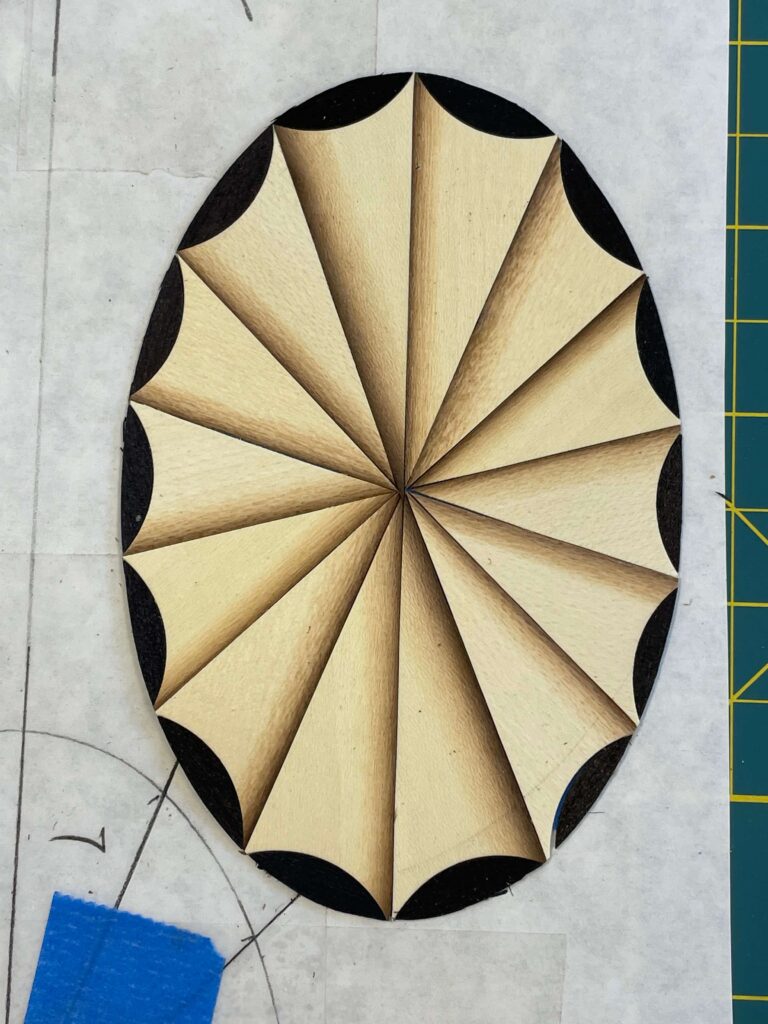
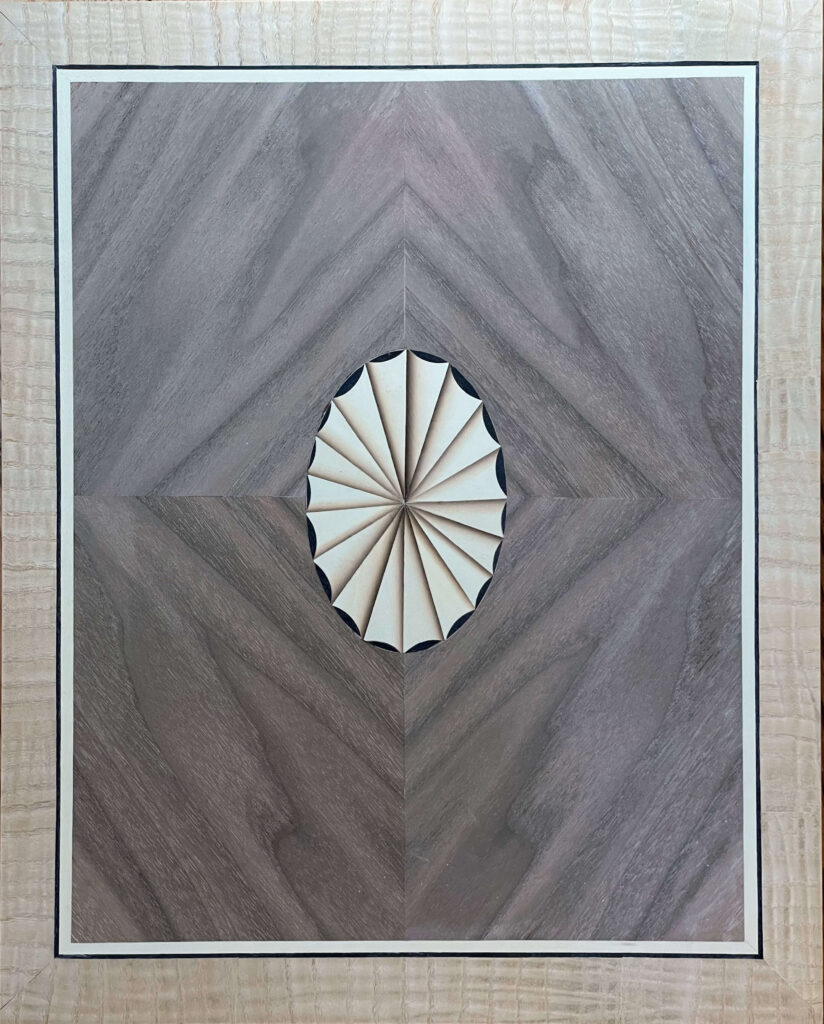
I only have one more class until August: Veneering for Furnituremakers I. We make a four way matched panel with fillets and cross banding on day one. On day 2 we make and then inlay into our panel an oval radial fan. If you would like to learn these skills that are fundamental to making Federal furniture, please consider signing up.
I will also be offering that class at the Sam Beauford Woodworking Institute August 17-18, and a five day Veneering and Marquetry Intensive Aug 12-16. If you are in the mid-west, Adrian MI is a lot more convenient than visiting Virginia, though I’d be happy to see you here.
In this edition of Running with Chisels:
- Ask Dave: How to work with extra large veneer panels?
- Around the shop: Working through Failures
- Tech(nique) Topic: Softening Wood Veneer
Ask Dave: How do you work with veneer panels that are too large for your scroll saw?
A:
I bought myself a 30″ scroll saw to make a king sized headboard last year. That is the tool I use when I need a lot of clearance. Often even with a large panel I can use my preferred Jet 22″ for a portion of the work.
A large background panel is generally pieced together from two or more pieces of veneer. I tape them together, draw the design on the background, then disassemble the background into individual pieces and install as much of the picture as possible into those pieces before taping it together for the final additions, the ones that span the seam(s).
An alternative method is to cut along the grain with a knife after making alignment marks, and tape it together later. Straight cuts parallel to straight grain are invisible.
If I am making a really large piece I study the design and find logical places to divide the picture into subpanels.
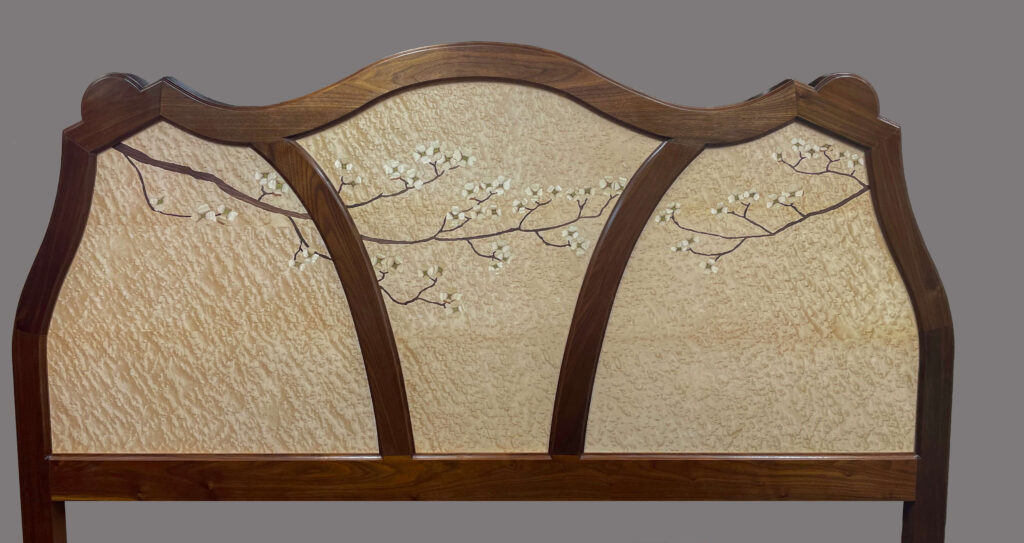
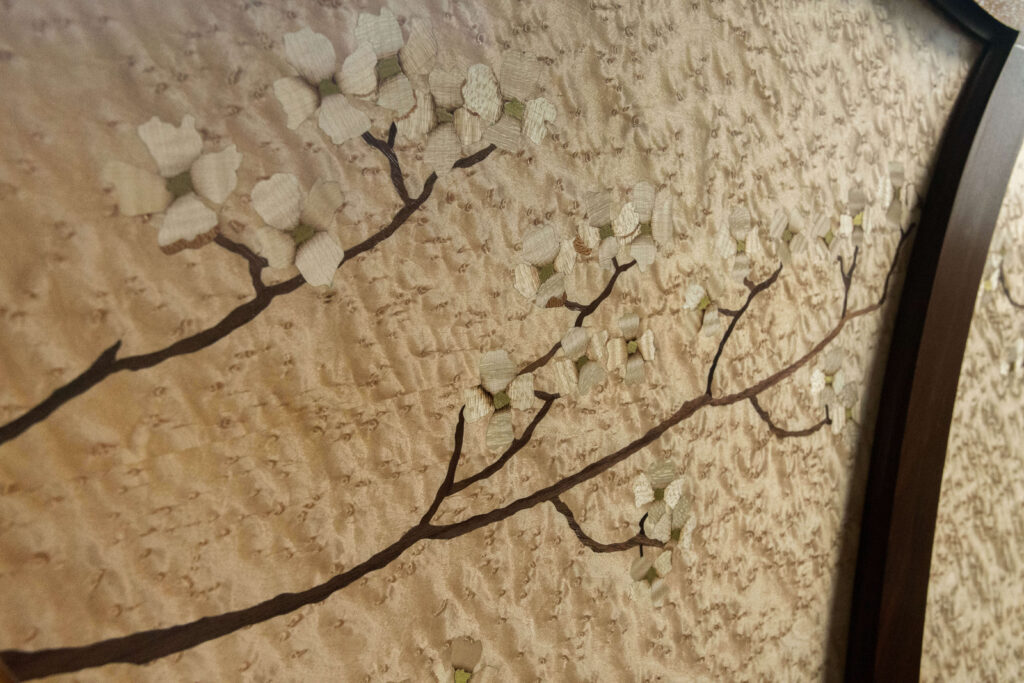
I have considered making a really large scroll saw but I don’t need one often enough to justify consuming that much shop space. We will see though! I address items like that when I need to, which is why I now have a table sized veneer press, but didn’t until I needed to make a table top.
Around the Shop: Dealing with failure
I enjoy the challenge of making something beyond what I have done, and actively seek out these opportunities. I am not reckless but I am bold. I make test pieces if I am doing something well beyond past experience. I sometimes learn more than I’d rather from those tests. The learnings are incorporated in my finished product, and eventually my classes.
Most of the time I am successful, but not always. Last month I had a significant failure that will take several weeks to redo. I was aware of the potential problem, and it still got me.
Things I knew before I started:
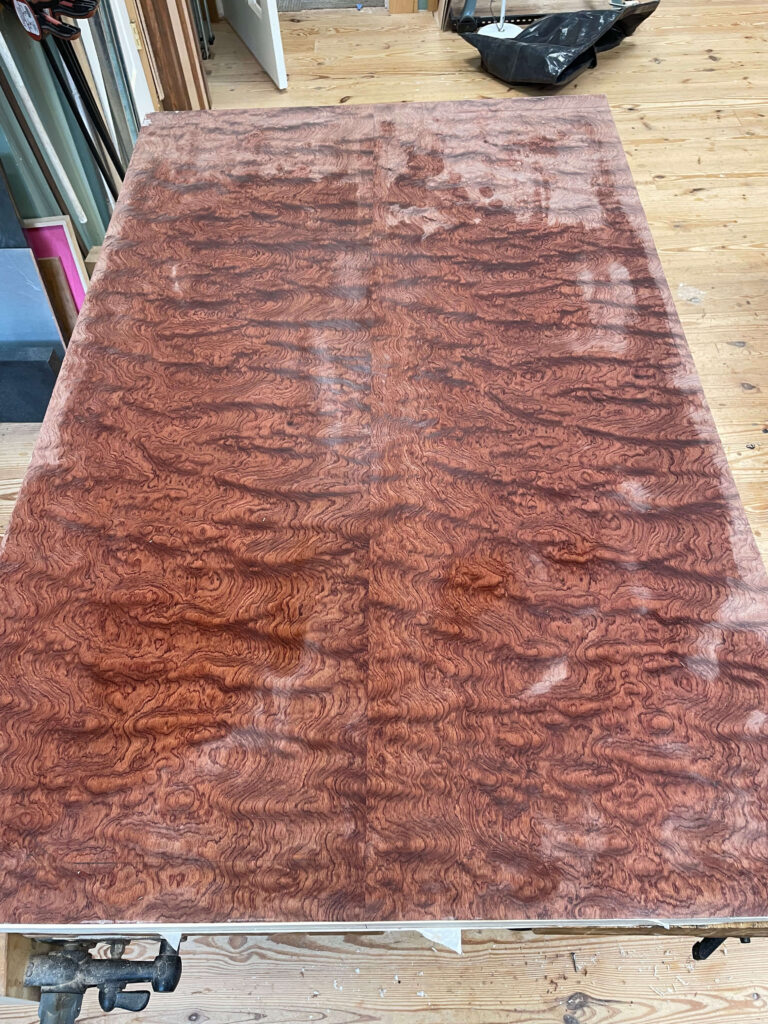
- Figured veneer tends to have tension issues. Figure is how the tree reinforces areas under stress.
- Tropical hardwoods in general are hard and brittle.
- Cutting veneers that are tense can cause them to move in whatever direction relieves stress. They will crack for the same reason when stress gets too high.
I was using highly figured bubinga as the background veneer for a table top, into which I was cutting sixteen flamboyantly shaped swirls and two iris marquetry pictures. There was definitely the potential for problems. I needed the bubinga to withstand being cut in many places without it moving, so that it would lay flat on the substrate when glued.
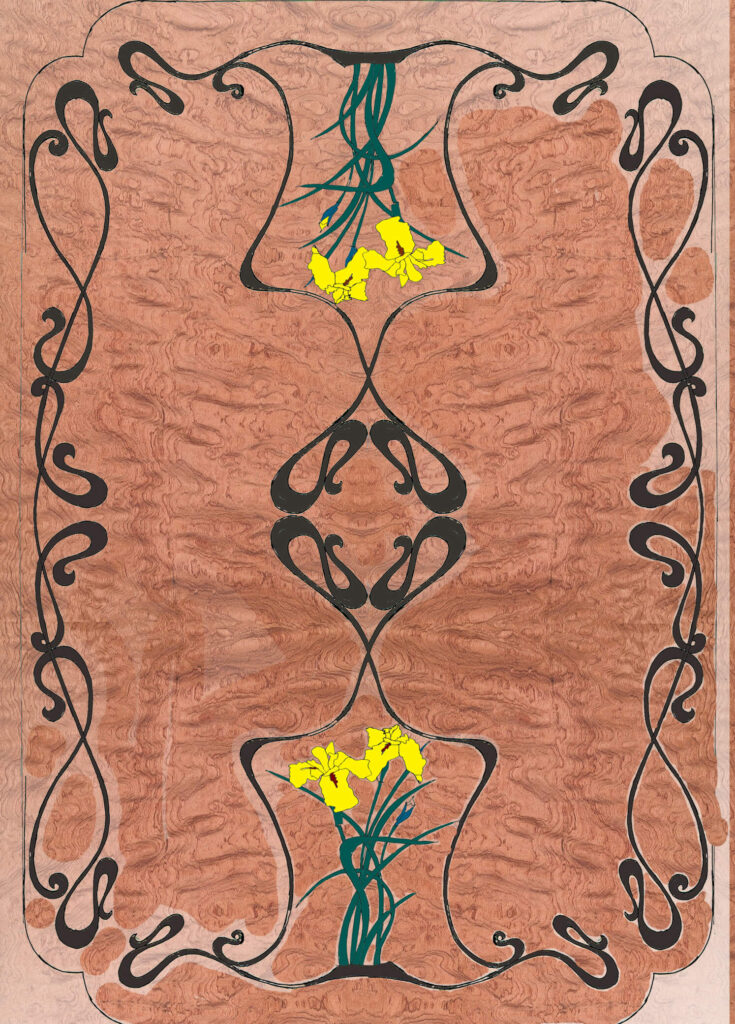
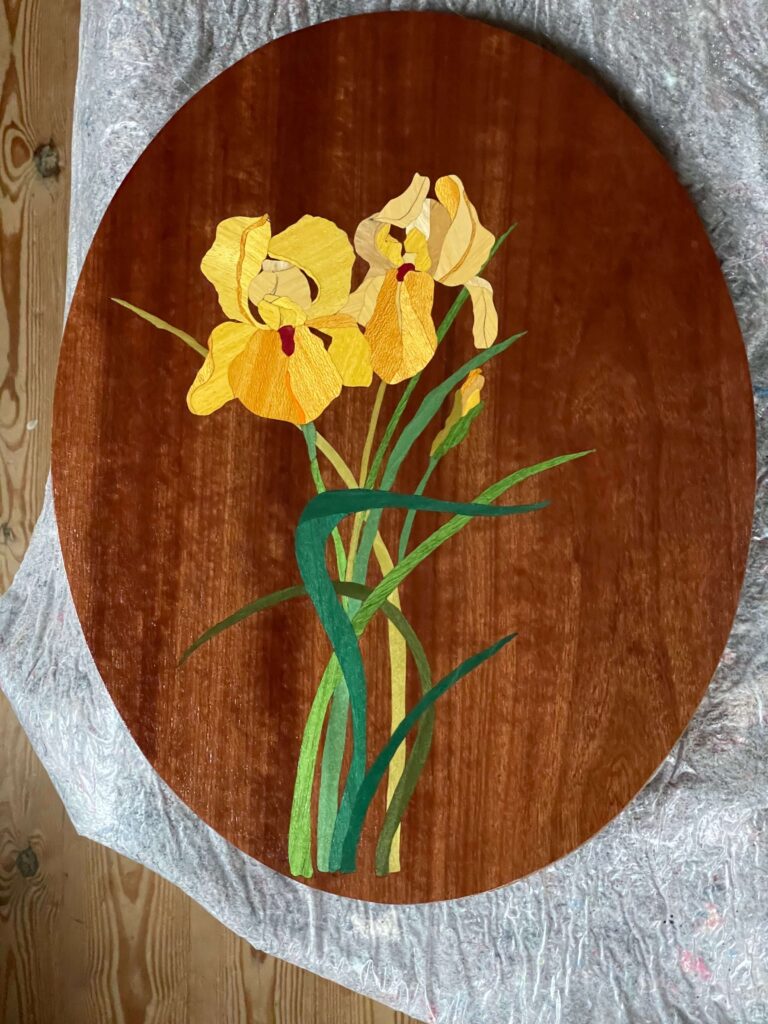
I tested by making a practice picture of the iris bouquet in a similar piece of figured bubinga. I later made a second copy since I didn’t like my color choices for the first set of irises. In both cases, the bubinga flattened correctly when glued to the substrate.
I considered gluing the bubinga to the substrate with only the iris area removed, and inlaying the swirls into the flat and stable bubinga glued to the table top. This involves considerable delicate router work and there is a risk that the bubinga will chip, a challenging repair. I decided instead to just go ahead and set all of the elements into the veneer first, then glue the whole assembly to the substrate at the end.
I did not consider applying softening solution to the bubinga before I started. I have softened burls before and it works. It is time consuming, because the burls takes a week or more to dry, even though my shop is humidity controlled at 50% year round.
As I inlaid each piece into the background I was aware that the bubinga was becoming less flat, but when pressed down it seemed OK. After installing the first of the two marquetry pictures and I could not install the swirls that framed them – the veneer was too rippled. I tried to use a veneer flattening solution on them, but this was the wrong place in the construction sequence for it. I couldn’t apply the solution to the entire piece – the veneers aren’t all oriented the same way, and wet wood expands across the grain. I applied it where I needed it and put it in the press, and the growth from the moisture caused the veneer to buckle and creases to form . I tried to remove the creases but they are permanent.
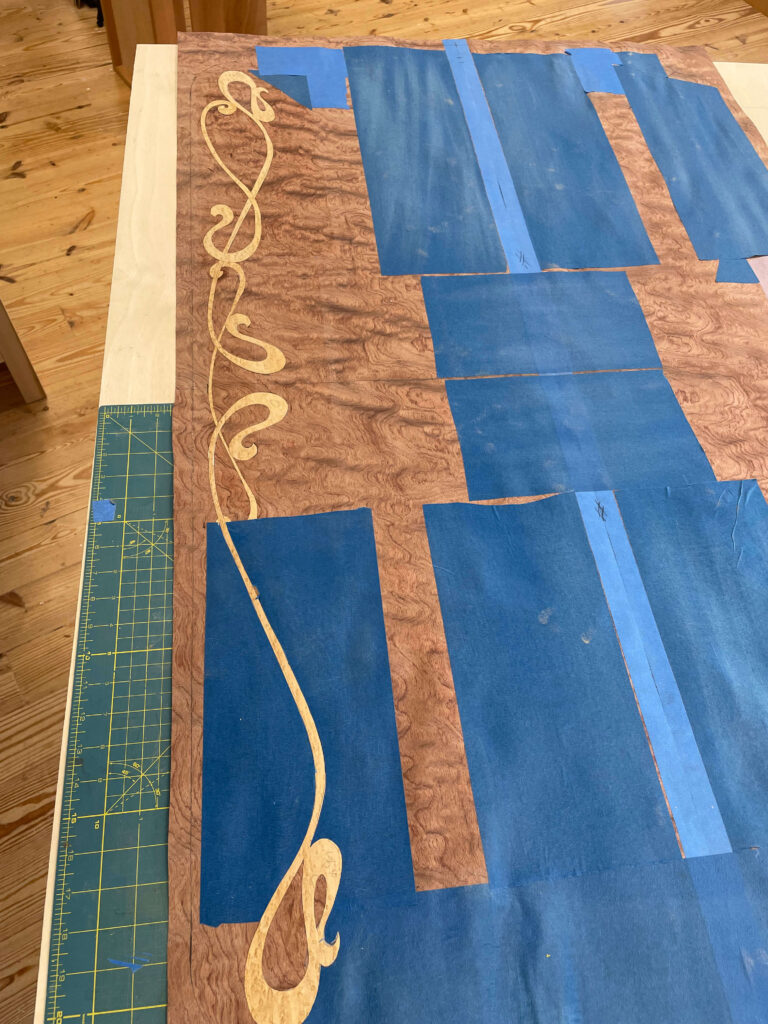
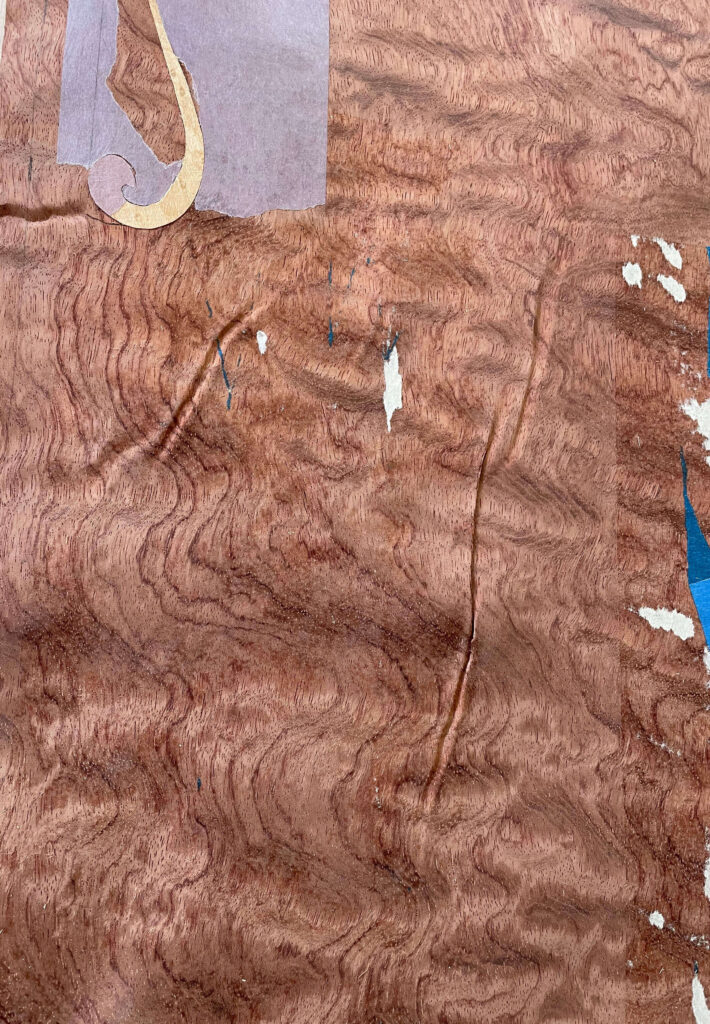
What to do now? This is a spectacular piece, and a repair is inconsistent with the objectives for this piece. I don’t know how to repair it seamlessly, and a patch isn’t appropriate. Besides, there are many more cuts to make, and that will only make things worse. It was time to start again. At least I found out when I was only half way done.
The key when something like this happens is to learn from it, and address the issues. Hoping isn’t a good strategy when it didn’t work the first time!
I decided to reduce the stresses in the bubinga with veneer softening solution. I would then assess how conservatively to proceed based on how relaxed and flexible the veneer was.
I softened the veneer as per the description in the Tech topic. I let it dry for almost two weeks – it didn’t feel completely dry after a week. When I pulled it out of the press and began working with it, I was disappointed in how stiff it still was. It was flat, but not relaxed. I had hoped to cut out two large panels for the marquetry flowers, but it seemed too risky. For that to work, the remaining veneer needed to glue flat and in the shape of the removed piece. If it didn’t I would need to do surgery to get the piece back in and the grain would no longer align. Even worse, there could be a large gap. That was more risk than I was willing to take, so I glued up the veneer to the table in one piece, and I will inlay the whole pattern one piece at a time.
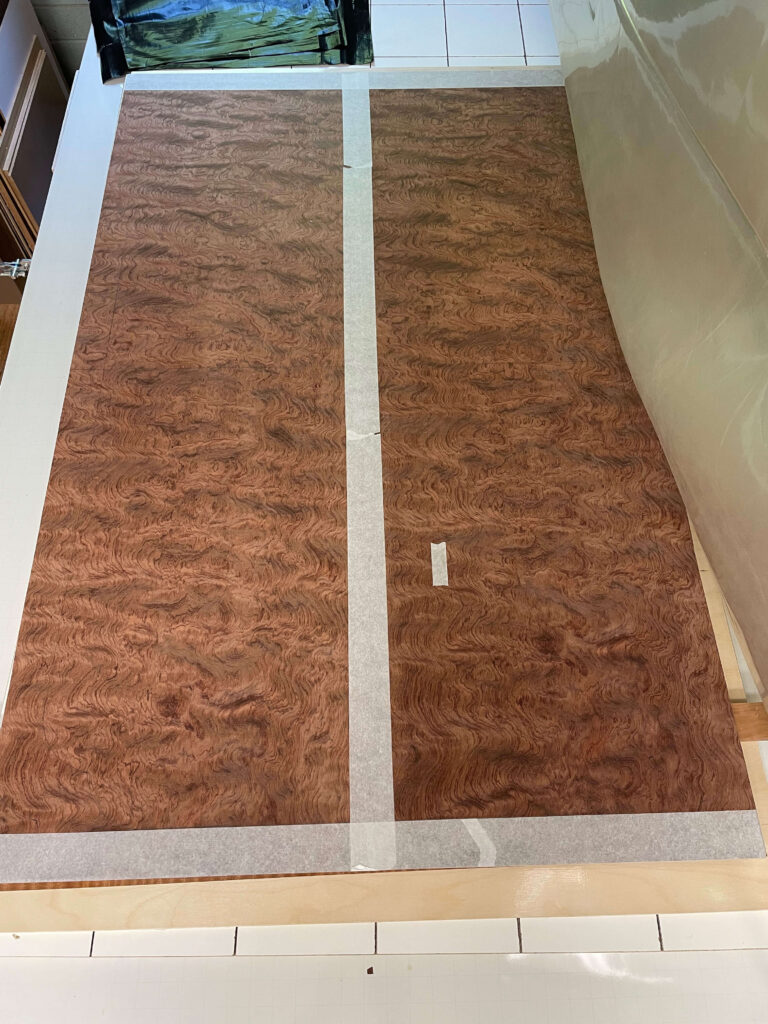
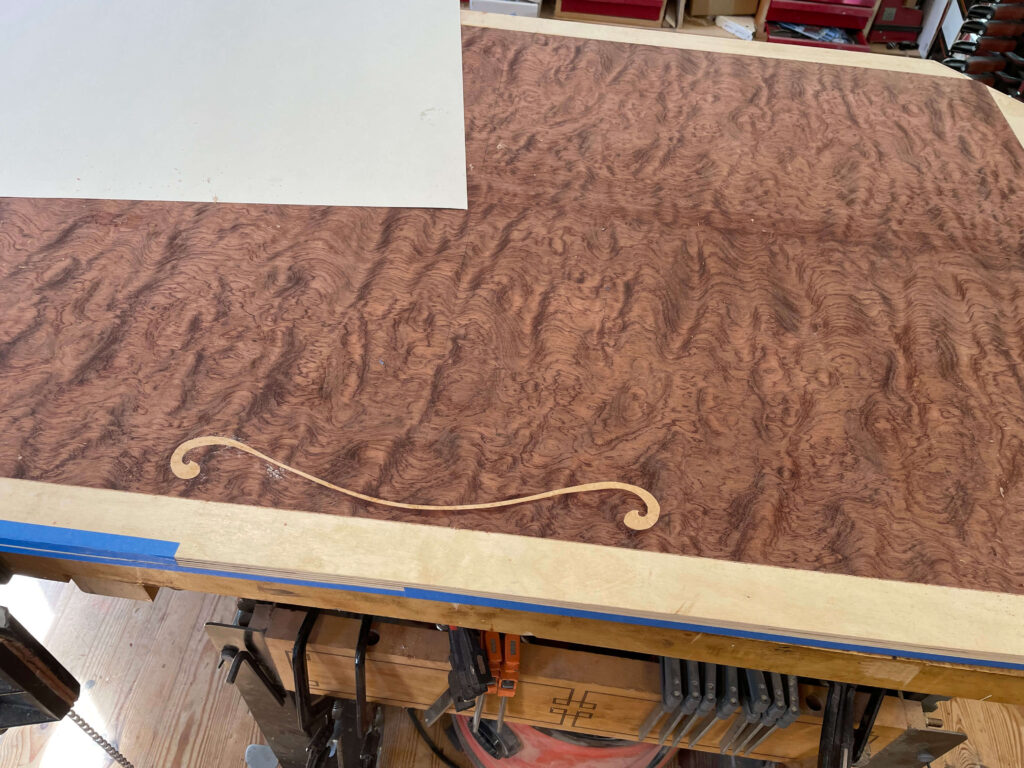
This is even more conservative than the approach I rejected six weeks ago. So far I have only inlaid the one piece, but it went smoothly. I hope to have a picture of the completed table for the next newsletter. The Tech Topic next month will be how to do this kind of inlay – I will have plenty of pictures by then.
Tech(nique) Topic: How to Soften Brittle or Warped Wood Veneer
Sometimes veneer isn’t flat. Fluctuations in humidity, or being stored without constraints, will cause veneer with personality to wrinkle. Tense woods will do this regardless of how well they are stored. Mild wrinkles can be ignored, but if you cannot tape the seam flat and closed, it’s unlikely to behave in the press.
Commercial veneer flattening solution is available. I haven’t used it so can’t comment. A steam iron can also flatten slightly wavy veneer. This is the recipe for the flattening solution that I use:
3 parts hot water
2 parts hide glue (PVA also works)
1 part glycerin
1 part ethanol
You’ll also need: newsprint, replacement screen door screen at least the width of your veneer
Add the liquids together in the above sequence. The ethanol and hide glue aren’t soluble, but stirring vigorously resolves that.
The concept is to soak the veneer in the solution and let it dry under weights. The solution works as follows: the hot water and alcohol improve solution absorption. The glycerin softens the wood. The press flattens the softened wood. The diluted glue then locks the new flat shape in place.
Paint the mixture on the veneer sheet on both sides. Don’t be shy. Immersion and soaking would work better, but there is enough open pore surface that the solution is absorbed rapidly. The veneer now must be flattened and allowed to dry. Newsprint absorbs the water, but we don’t want it to stick to the veneer, so I use plastic screen door material to separate the veneer from the paper.
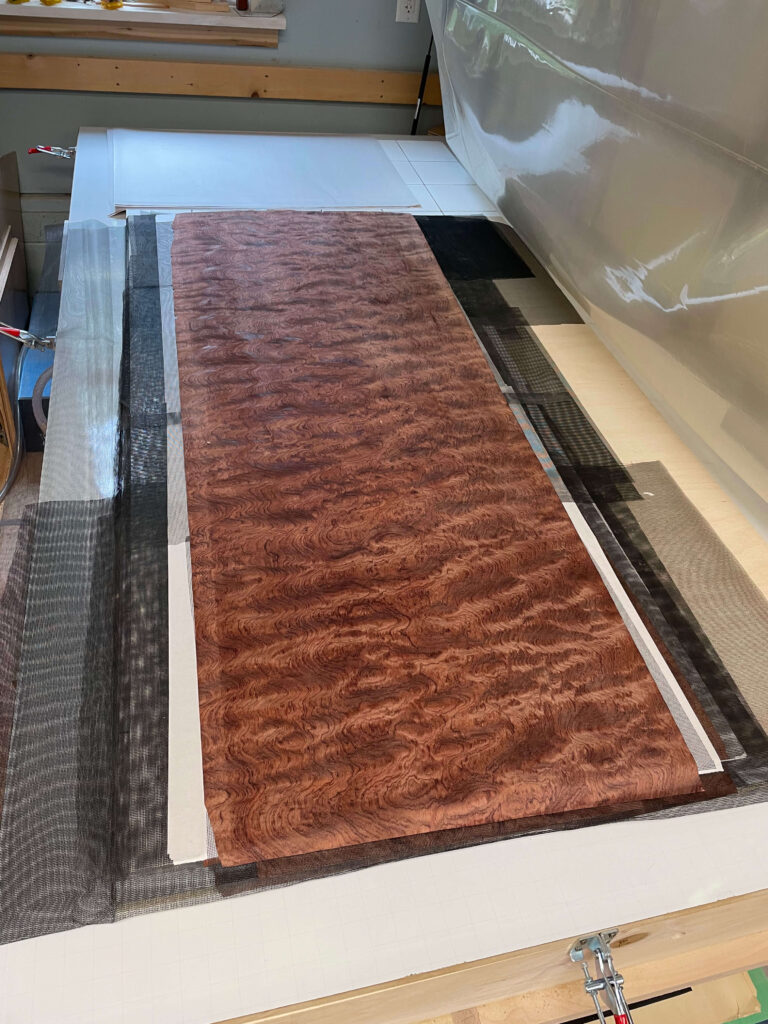
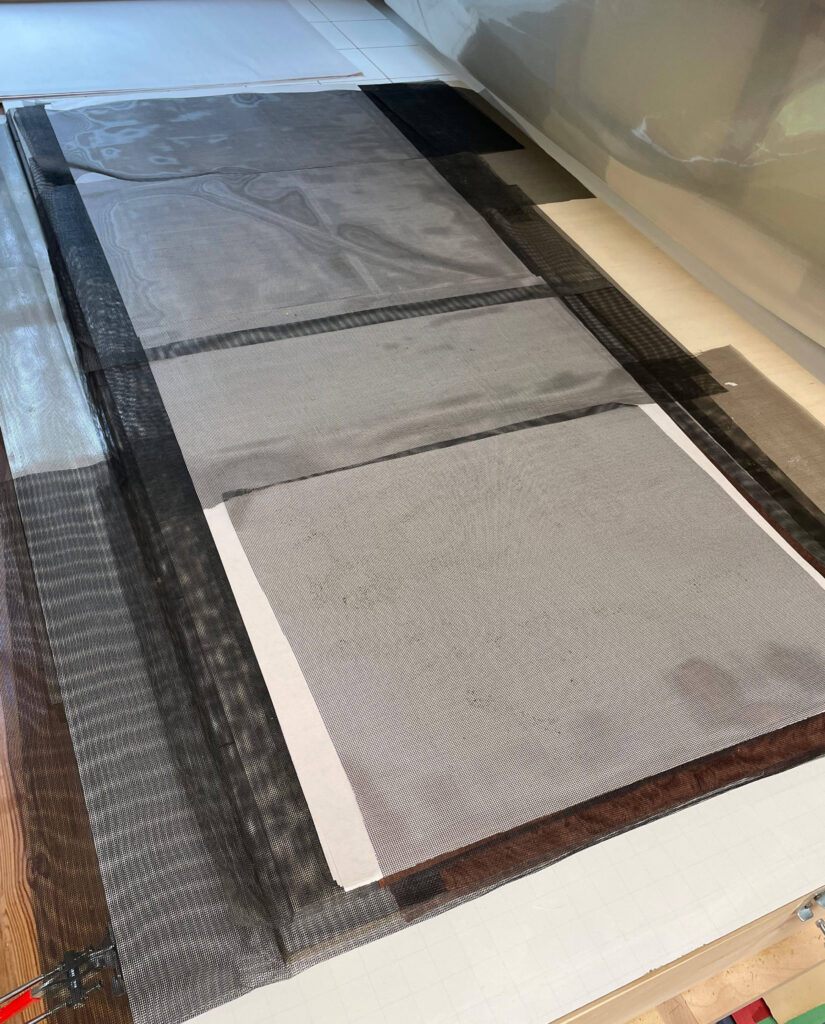
I build a stack by placing plain newsprint, then plastic screening, then a sheet of wetted veneer, another screen, 3 sheets of newsprint, then another screen, another sheet of veneer, and so on. Stack the veneers so that they are aligned or they will bend. Take this whole stack and place in the veneer press. Press it for several hours. Most of the water will now be in the newsprint. Unstack it and replace the paper, then press again. Leave this in the press overnight. Replace the paper again and leave it at least another day. It will look very flat at this point. The veneer will only stay flat if left to dry under weights until it’s completely dry, which takes several more days. If left until completely dry, it will be pliable and flat for at least a year or two. Using hide glue may give better clarity in the finished piece but I have used PVA and it seems to work fine.
8oz of total liquid is enough for six 18×24 veneer sheets. It is better to have too much solution than too little.
Once flat and dry, the sheets should be kept between boards or heavy cardboard weighted with bricks until used.
return to the running with chisels archive
return to top
©️ 2025 Heller & Heller Furniture | Privacy Policy | Terms