Running with Chisels Vol. 11
Marquetry tips
Browse by Category:
Welcome
Our corner of the internet dedicated to decorated furniture
#saynotonakedfurniture
#dressyourfurniture
rwc archive
tools
classes
Vol 11 | April 23, 2024
Welcome to Running With Chisels, or welcome back.
You may have noticed we missed our usual March newsletter – things have been a bit difficult behind the scenes this year.
In memoriam
We have been blessed with long-lived parents – my Dad was the youngest at 89. At the beginning of the year, three of our four parents were still with us and now my 93 year old mother is the only one left. Elizabeth’s 96 year old Dad Peter Carling died in January, and Phil Heller died in March. They were beacons in our lives, and we miss them. Even more, we miss who they were. In their primes, they were something.


Let’s talk about marquetry.
It has still been happening here. It’s what I do.
Class updates: In the first quarter of 2024 I’ve done a Painting with Wood class (more below), the inaugural Double Bevel 2 class, and a Geometric marquetry class. The Veneering for Furnituremakers I class has been deferred to June 8-9, and has two spots available. Double Bevel I is now Sept 8-9. I really appreciate all those students who have been flexible with their schedule as things have needed to shift around.
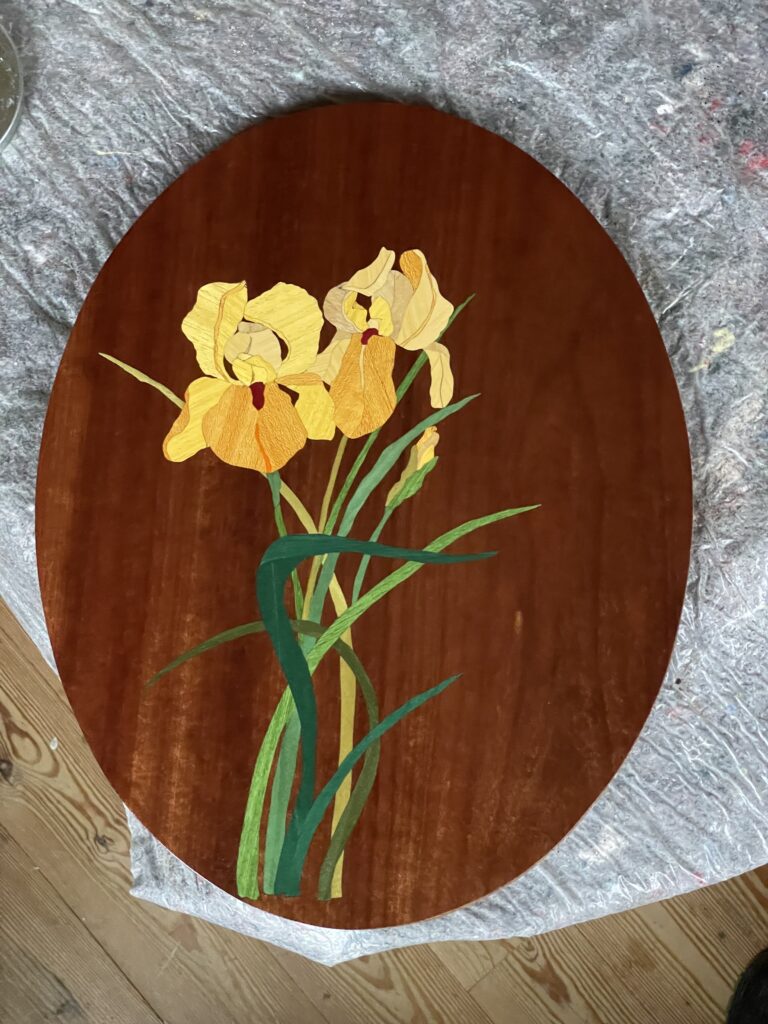
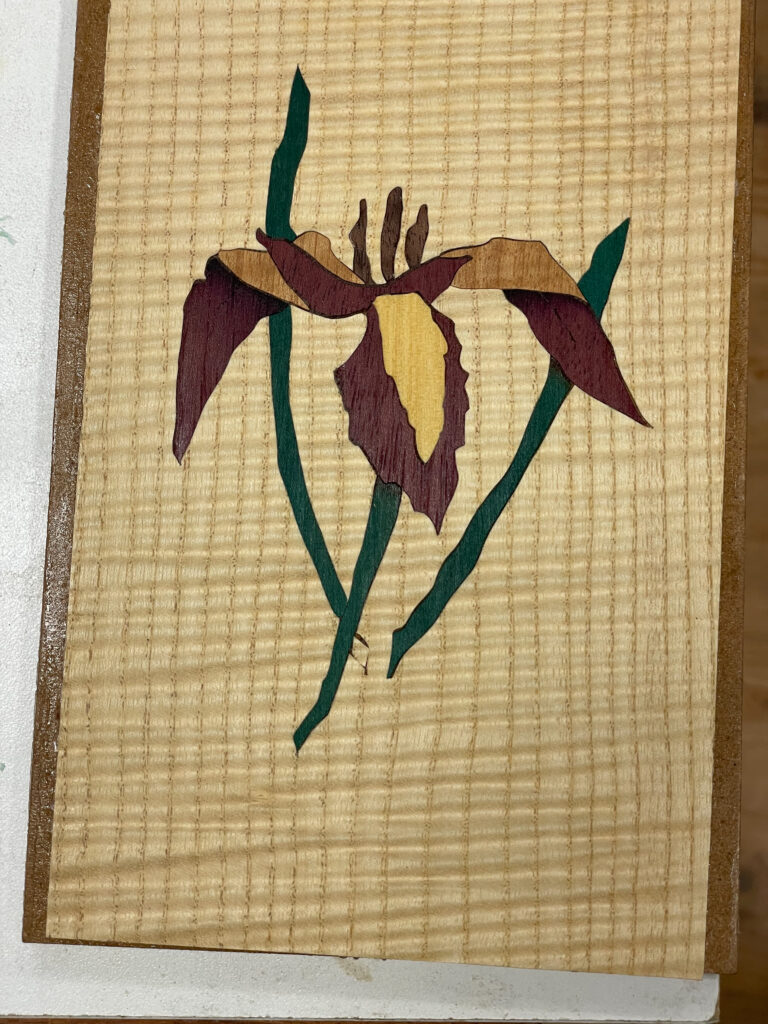
I made this double bevel iris to test the colors. I am pleased with the leaves and the iris on the left, and less so with the iris on the right. I hope to sell it later in the year.
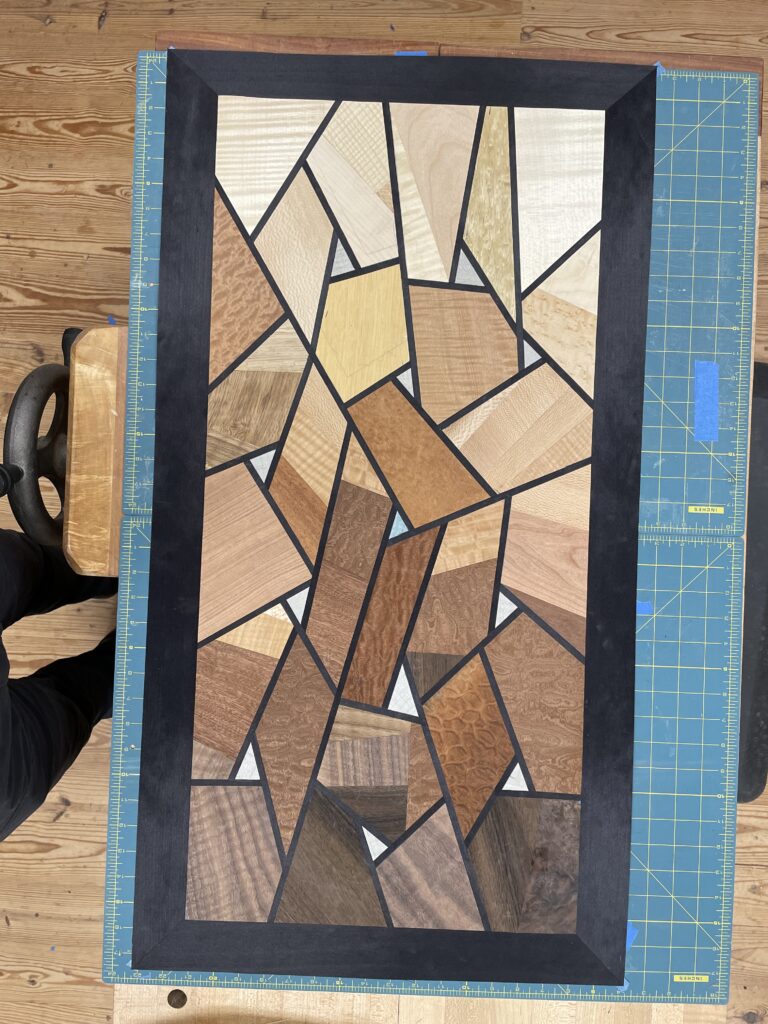
I also made this large geometric marquetry to use up some scraps. The design is from Chinese Lattice Designs by Dye. It will be the panel in the door of a tool cabinet I am making.
In this edition of Running with Chisels:
- Ask Dave: How to replace a piece of already-cut veneer?
- Dave in-person: Upcoming events
- Class Recap: Painting with Wood
Ask Dave: How do you replace a piece of critical veneer partway through a project?
It happens: you’ve laid out a radial match and cut all your pieces, or a bookmatched panel of continuous grain for a tabletop or set or drawer fronts, and then your hand slips and a piece of your veneer is unusable. When the grain match is critical, how do you recover?
A: One of the benefits of buying multiple sheets of veneer is that the wood pattern from sheet to sheet is almost identical. Damage to any one sheet can almost always be resolved by finding the same pattern in a subsequent sheet. The further down the flitch the second piece is, the less perfect the match is, but it can still be very close.
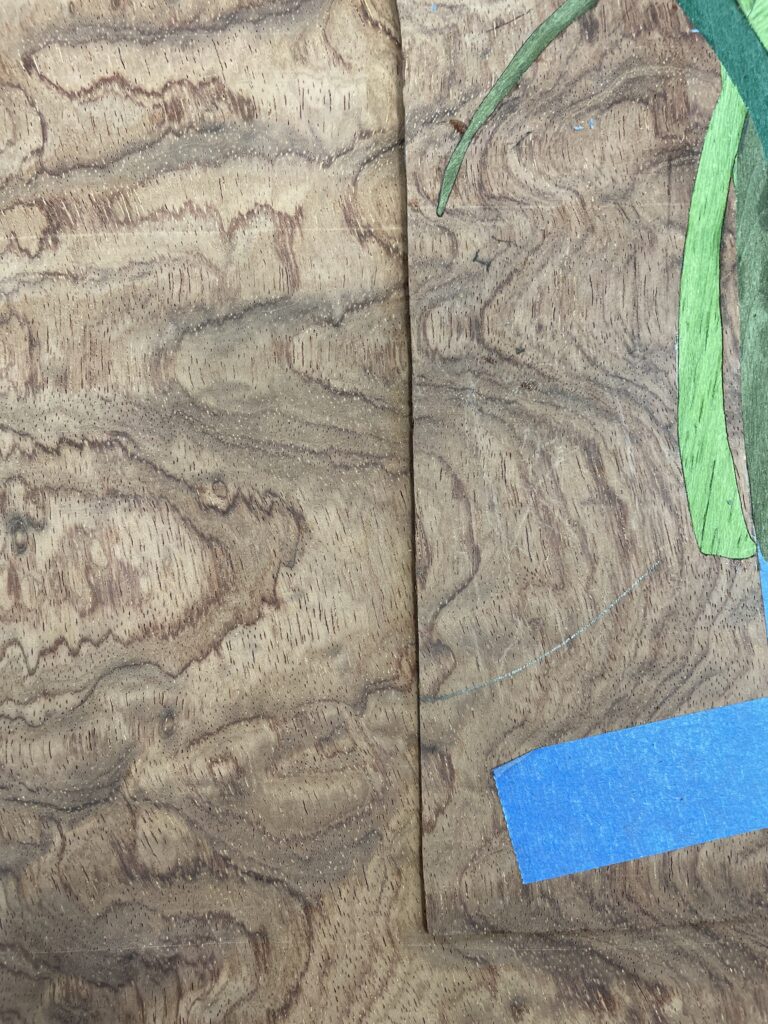
In this example, I have started a book matched bubinga tabletop, and I need to replace the piece containing the irises while maintaining the grain match. Here’s how I do it:
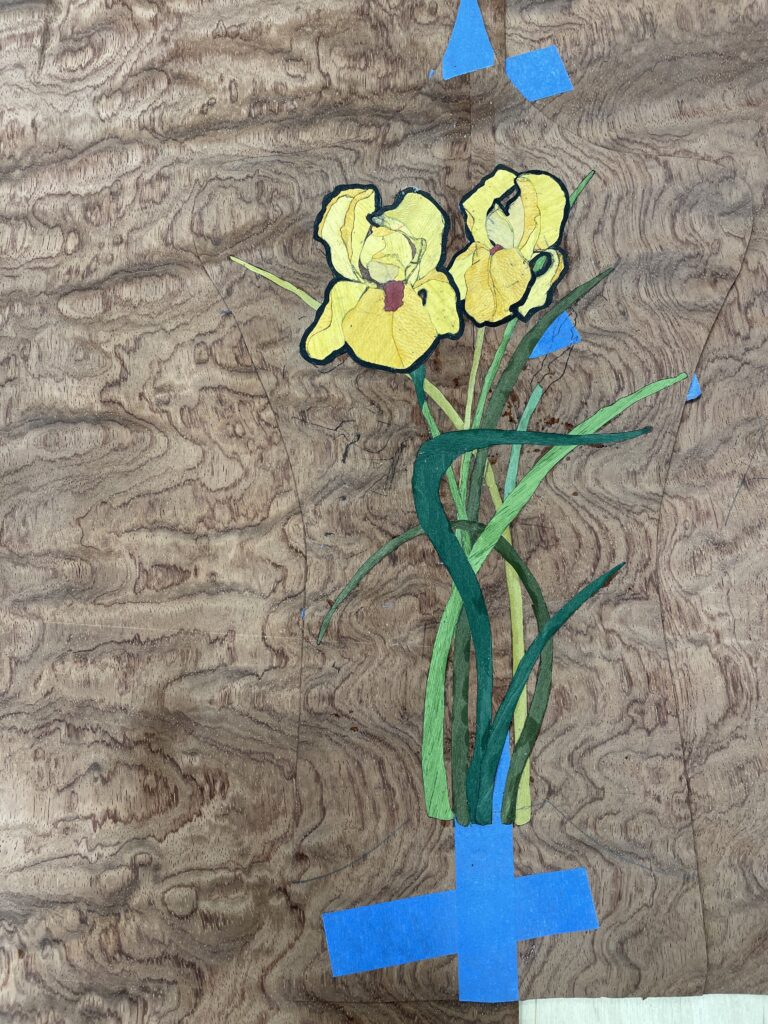
When the grain is crazy, it is easier to get a match – so long as you are close, it is hard to see variations among all the natural figure. In the picture at left, the zone with the flowers needs to be replaced. There is a seam up the middle of the section, so to maintain my grain matching the replacement pieces need to come from two sheets. I therefore took the next two sheets of figured bubinga and placed the reference piece overtop. I used the major curl marks and checked at the edges to get the location close. I then looked at points where the grain lines are thick and slid the foreground piece until it matched in the lower corner. I then rotated the piece until it lined up near the top. After a couple of iterations I had it, and I drew the edge in thin marker, then used the edge of the piece as a template to cut its replacement
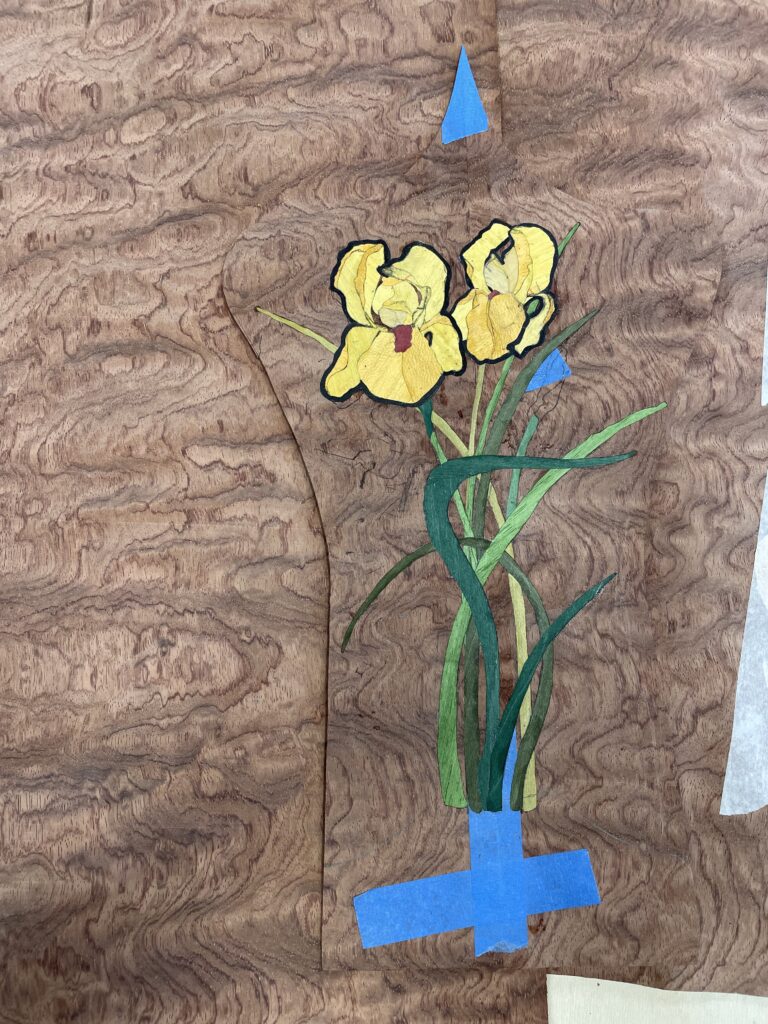
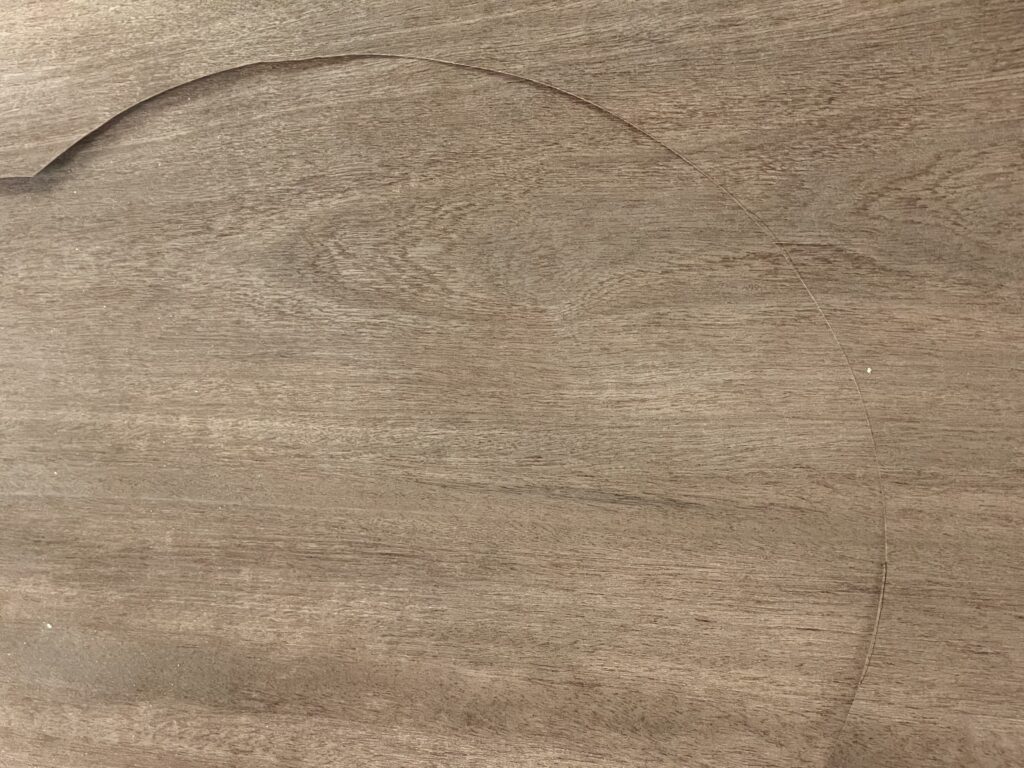
With straight grain the issue is the same, but the grain won’t hide any misalignment the same way.
Here is a straight grained piece. I am showing you how the grain lines up , but this took a couple of minutes. I again use two areas far apart, but I use the more dramatic and unique light and dark line spacings. As you can see, an excellent match is possible, but being 3 mm off here would be clear, where it would not be with the crazy bubinga.
You can only use this technique when you have that extra sheet of veneer. When you are doing something complex, having an extra sheet of two is calming, because you know that you can use it to compensate if you need to do a course correction. If you don’t, there are often creative ways to get around it, but they are situation specific. I bought extra bubinga, just in case.
Dave In-Person: Upcoming classes & events
In addition to the classes in Charlottesville, I will be teaching Geometric Marquetry at the Fredricksburg (Va) Workshopon May 18-19, and in Adrian MI : Veneering for Furnituremakers on June 15-16, and 5 day introductory Intensive June 16-20 At the Sam Beauford Woodworking Institute.
I will be speaking at the SAPFM Annual Conference on June 29 – about marquetry, of all things! I will be describing techniques for combining veneer and solid wood to get the best out of each material.
My example piece will be an Art Nouveau dining room table that I am currently making. Here is how it looks today:
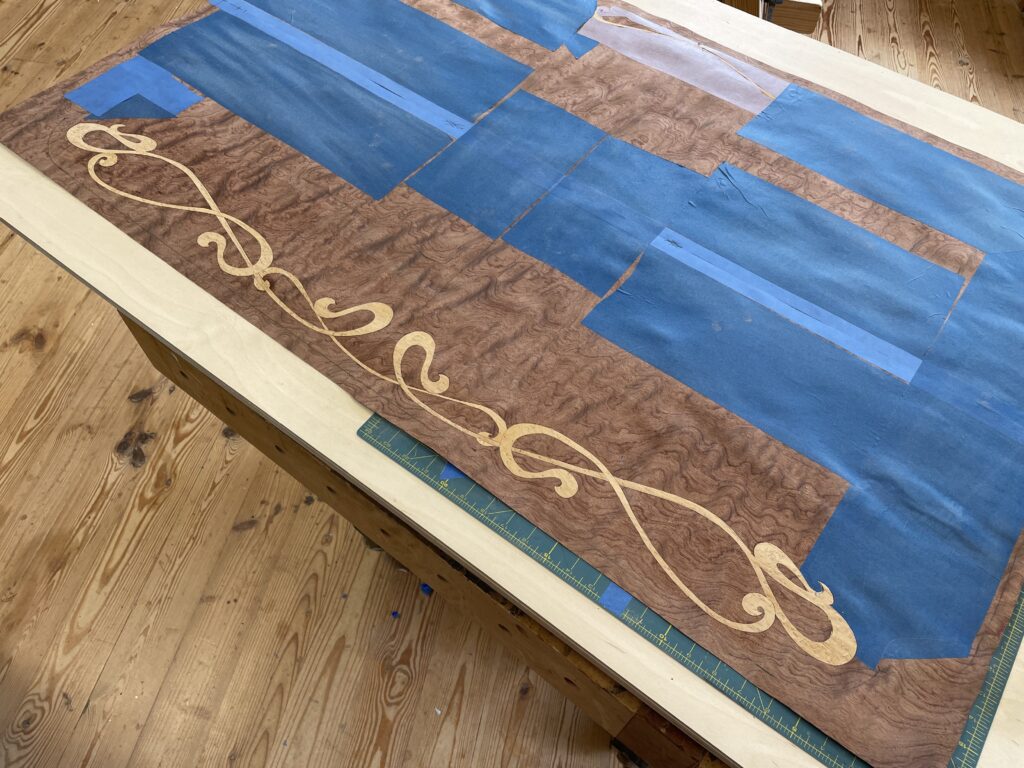
It’s a bit of a stinker to make but it’s going to look amazing when it’s done. The carved base is as plain as you’d expect to go with a top like that.
Class Recap: Painting with Wood
As I mentioned, I’ve held three classes since the last edition of Running with Chisels was released. I have some pictures, and I’d like to tell you more about what these classes entail and how they went. This month we’ll talk about the Painting with Wood class.
Painting with Wood
This is an introductory level class where we use a scroll saw to cut out pictures. This is the traditional method of making floral marquetry, and it is also called Boulle work (after the craftsman who initially perfected the technique) or packet cutting.
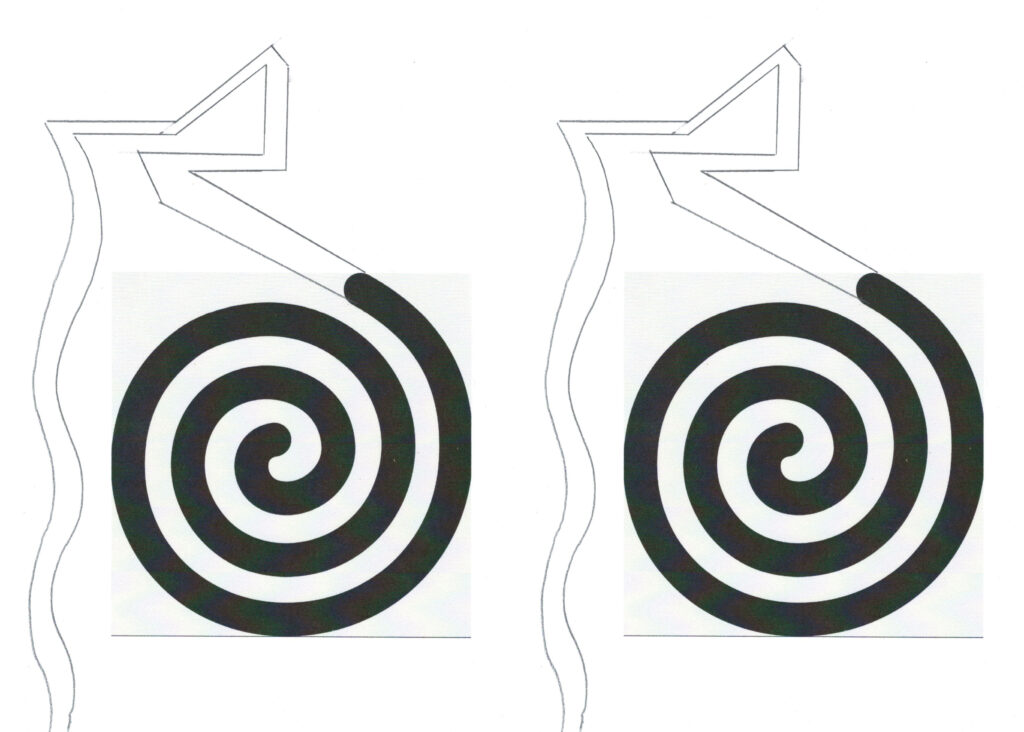
Since none of the five students had scroll saw experience, we had fun cutting a nasty practice pattern. Using a scroll saw isn’t difficult, but it requires some touch. We are cutting thin packets, so there is not much resistance. Learning how hard to push while rotating the packet takes some practice.
Once everyone was comfortable with that, we chose the veneers to go in our packets and assembled them. We stuck the pattern on the front of the packet, drilled a 1/16” hole, finagled the scroll saw blade through the hole, and cut out the pieces. The cutting sequence is important, as is how you support the packet as you cut an ever-expanding hole in it!
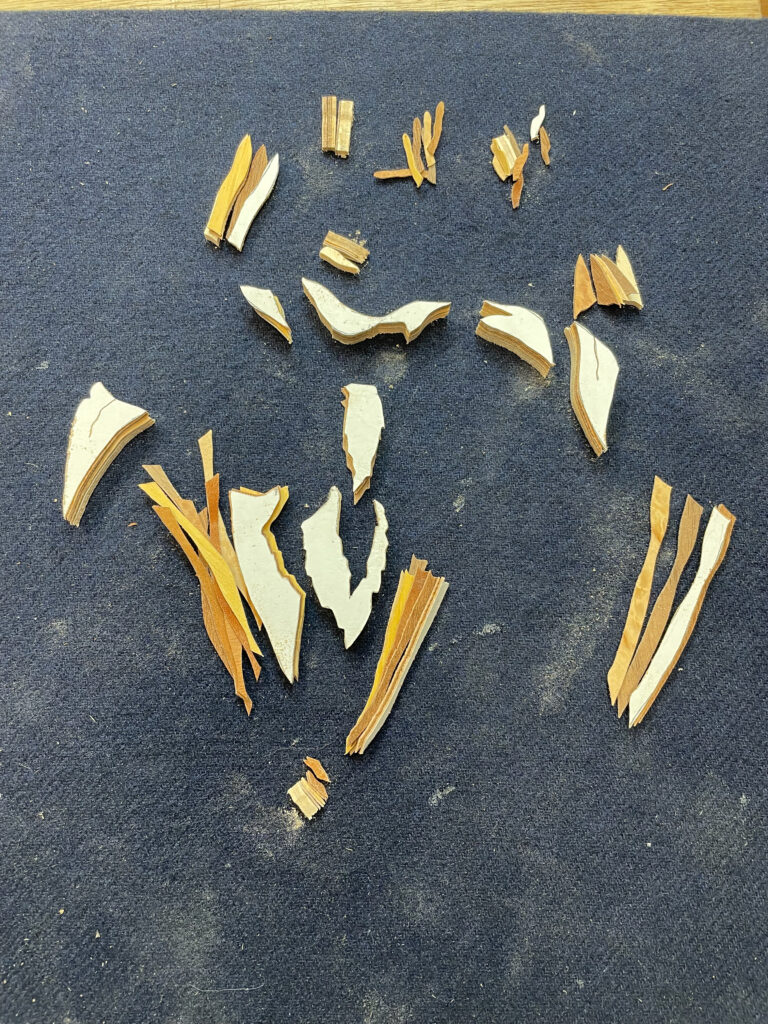
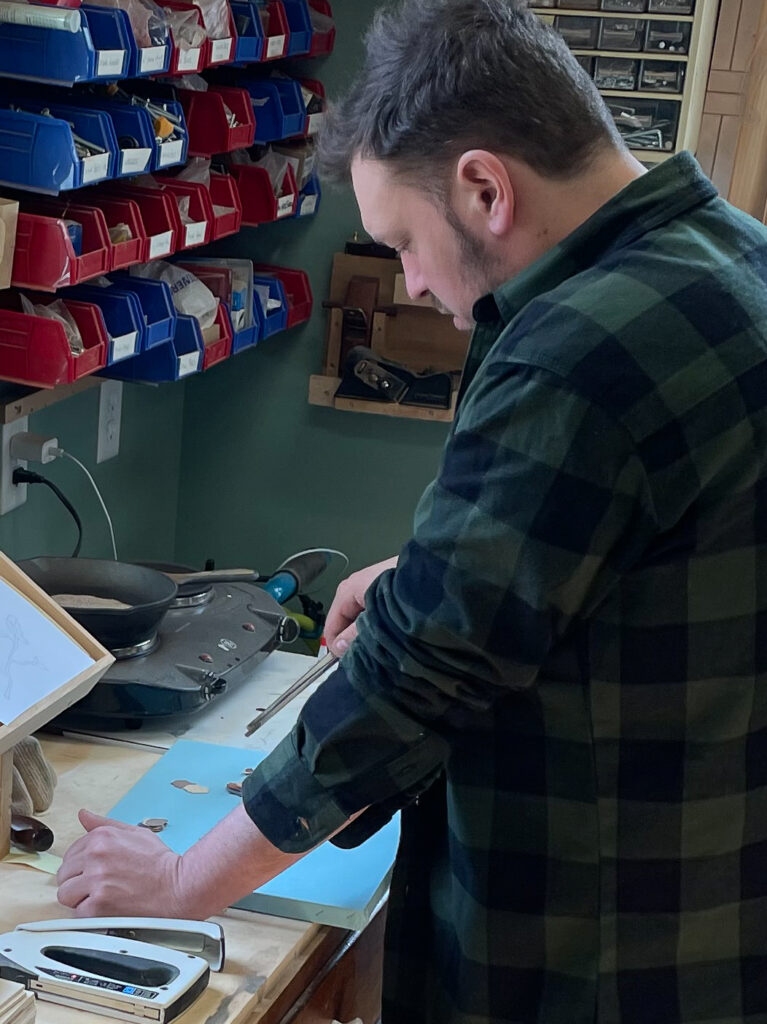
We chose the pieces to go into each background so that we had several attractive color combinations, and then glued the taped pictures face-down onto palette paper (below)

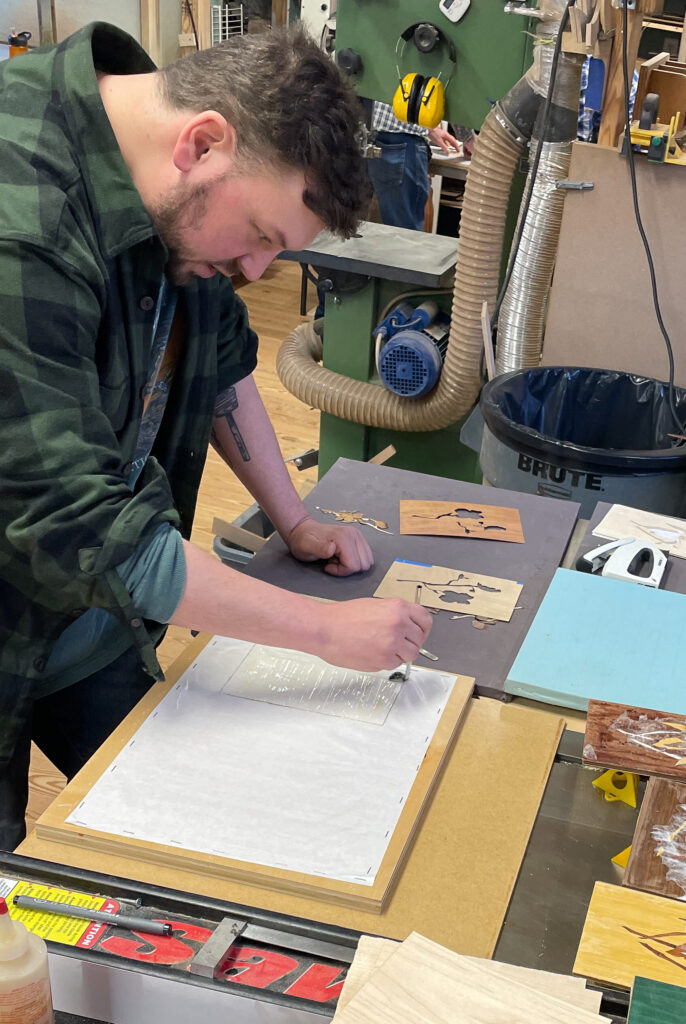
Once the glue had dried we filled the saw kerfs with a walnut sawdust and glue mixture.
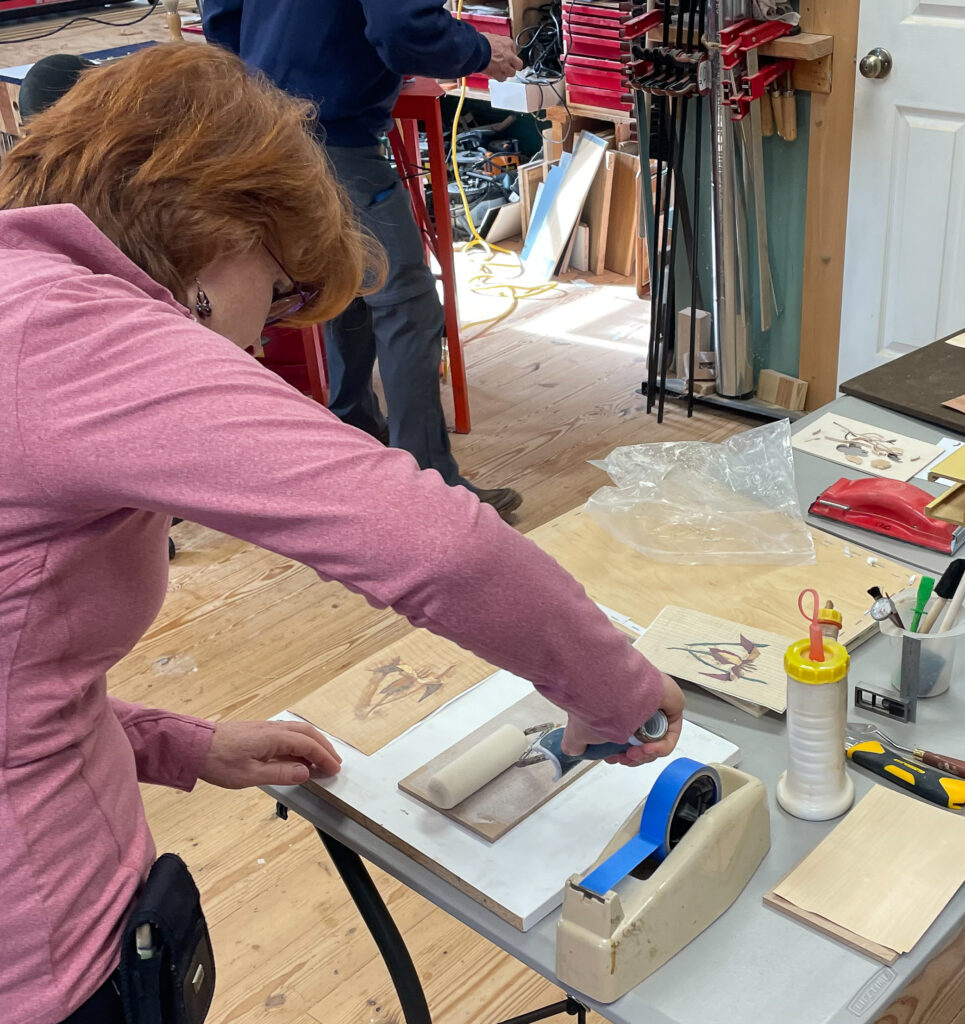
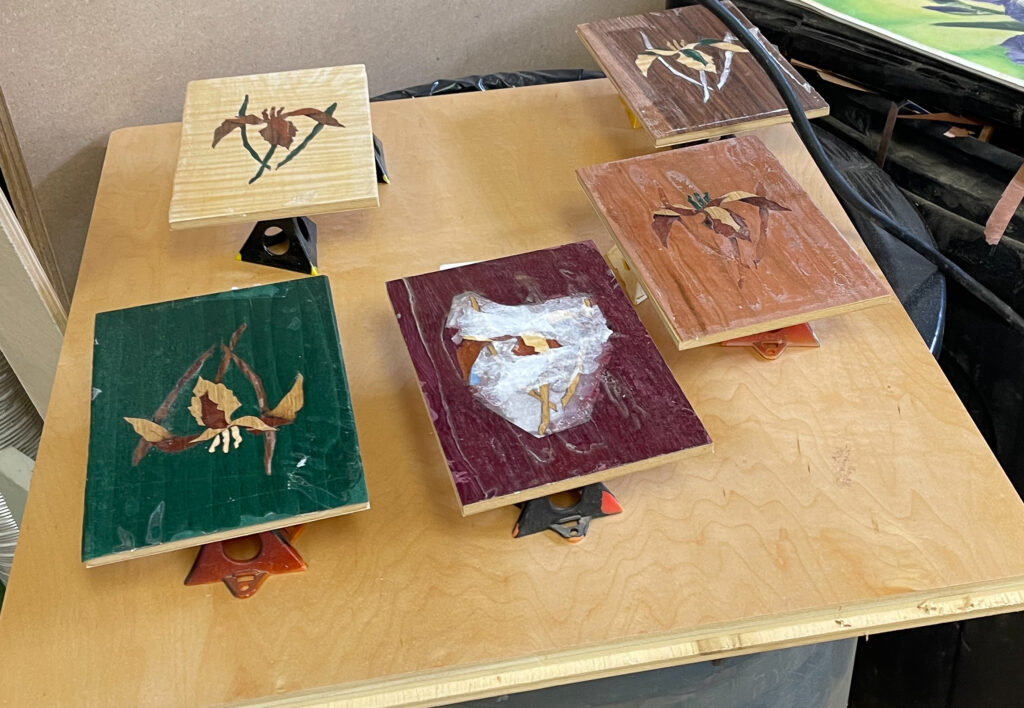
Everyone seemed happy with the results, though it took longer than planned.
That’s all for this month, thanks for reading!
return to the running with chisels archive
return to top
©️ 2025 Heller & Heller Furniture | Privacy Policy | Terms